What’s the Process of Getting a Hair Tattoo? Your AU Guide
Getting a hair tattoo isn't a one-and-done appointment; it's a carefully planned journey that unfolds over several weeks. Think of it as a multi-stage cosmetic process, starting with a thorough consultation, moving through two to four treatment sessions as pigment is layered onto the scalp, and wrapping up with a crucial aftercare phase to lock in those fantastic results.
Your Hair Tattoo Journey From Start to Finish
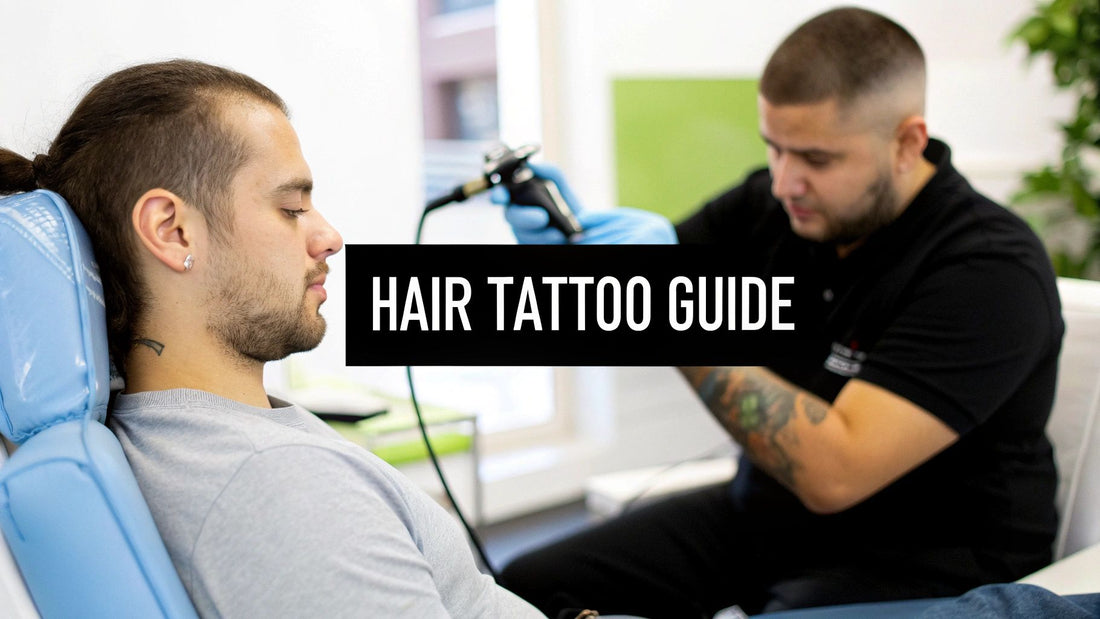
So, what’s actually involved in getting a hair tattoo? Let's clear up one common misconception right away: this isn't like getting a standard tattoo at your local parlour. It’s a highly specialised cosmetic procedure known as Scalp Micropigmentation (SMP), and the entire process is meticulously designed to achieve an incredibly natural-looking result. It’s no wonder SMP has become such a go-to solution for hair loss across Australia.
The technique itself involves an experienced artist depositing thousands of tiny pigment dots into the dermal layer of your scalp. These dots are layered to perfectly replicate the appearance of individual hair follicles, creating the illusion of a full, closely-shaved head of hair. Each session typically lasts between two and four hours, and you'll usually need a few of them to build up the ideal density.
If you're new to the concept and want to get a better handle on the specifics, our guide on what scalp micropigmentation is is a great place to start.
This infographic gives you a great visual breakdown of the key stages you'll go through, from the initial chat to the final healed result.
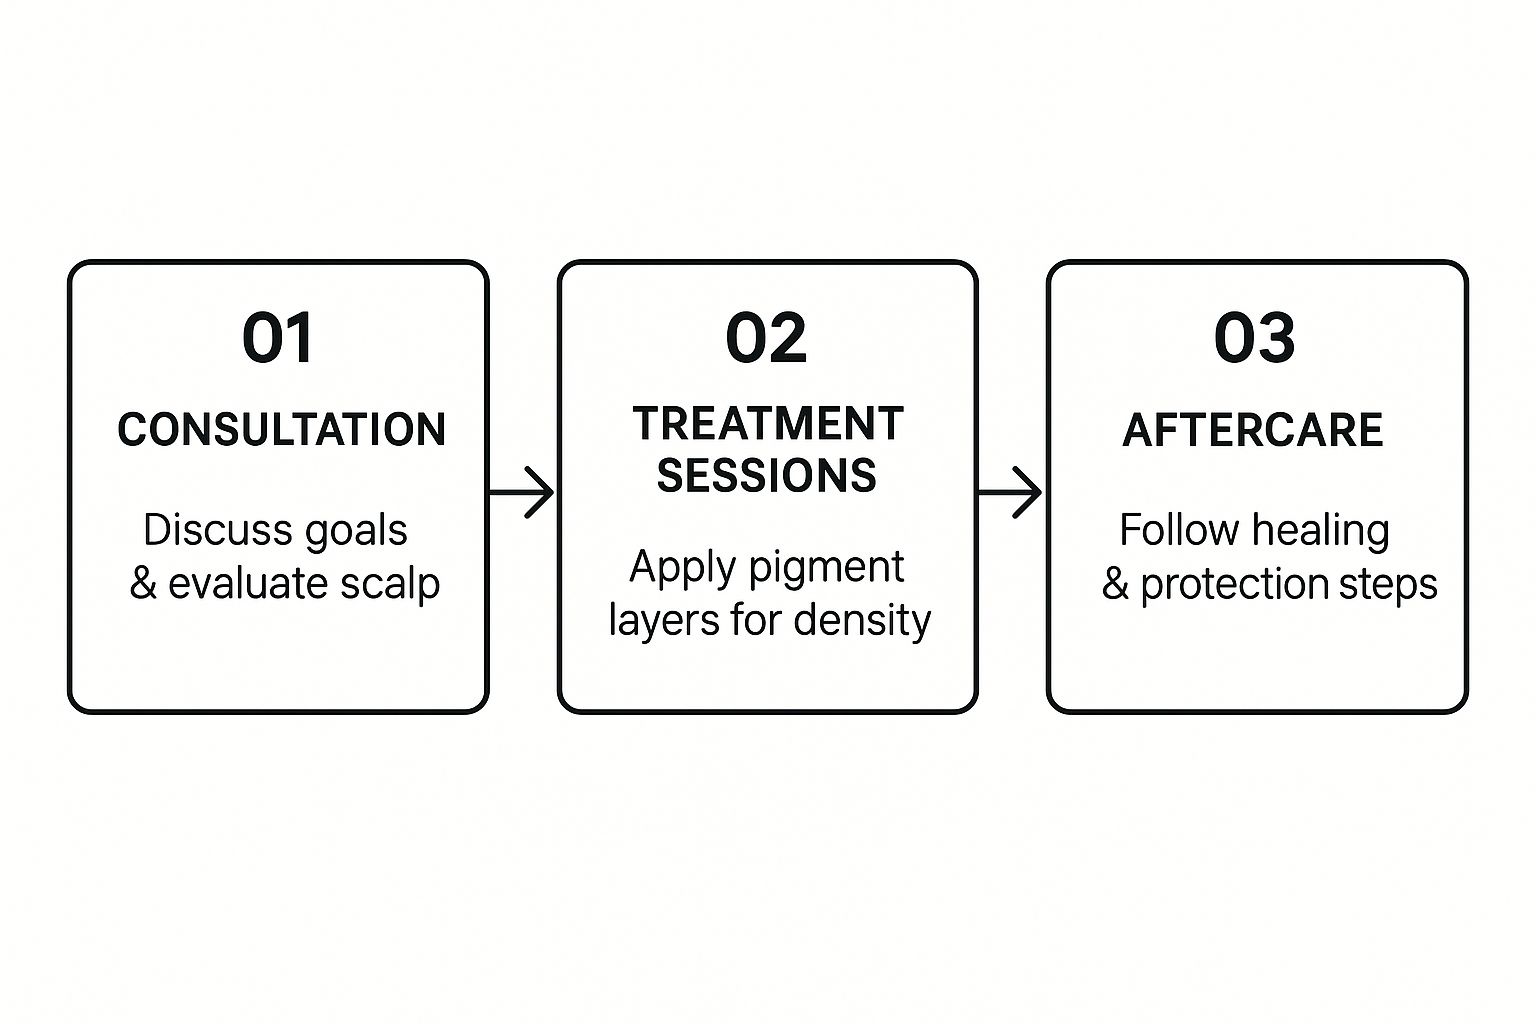
As you can see, each phase flows logically into the next, ensuring the entire process is smooth and predictable on the path to your final look.
To give you an even clearer picture, let's take a look at the entire journey in a bit more detail.
Scalp Micropigmentation at a Glance
This table summarises the typical timeline and what you can expect at each step of your SMP journey. It’s a great way to visualise the process from beginning to end.
| Phase | What to Expect | Typical Duration |
|---|---|---|
| Consultation | An in-depth chat with your artist to discuss your goals, design your ideal hairline, get a patch test, and receive a personalised quote. | 30 - 60 minutes |
| First Session | The foundational layer is created. Your artist establishes the hairline and applies the initial scattering of pigment dots across the treatment area. | 2 - 4 hours |
| Second Session | The density is built up. More pigment is added between the initial dots to create a fuller, more complete look and add texture. | 2 - 4 hours |
| Third/Final Session | This is the perfection stage. The artist adds the final details, blends everything seamlessly, and makes any final adjustments to the hairline and colour. | 1 - 3 hours |
| Healing & Aftercare | You'll follow specific instructions to protect your scalp as the pigment settles. This is crucial for long-lasting, crisp results. | 4 weeks post-treatment |
This structured approach ensures that nothing is left to chance. Every session builds upon the last, allowing for a gradual and controlled transformation that looks completely authentic. In the sections ahead, we’ll dive deeper into exactly what happens during your consultation, the treatment itself, and the all-important aftercare that protects your new look.
The All-Important Consultation
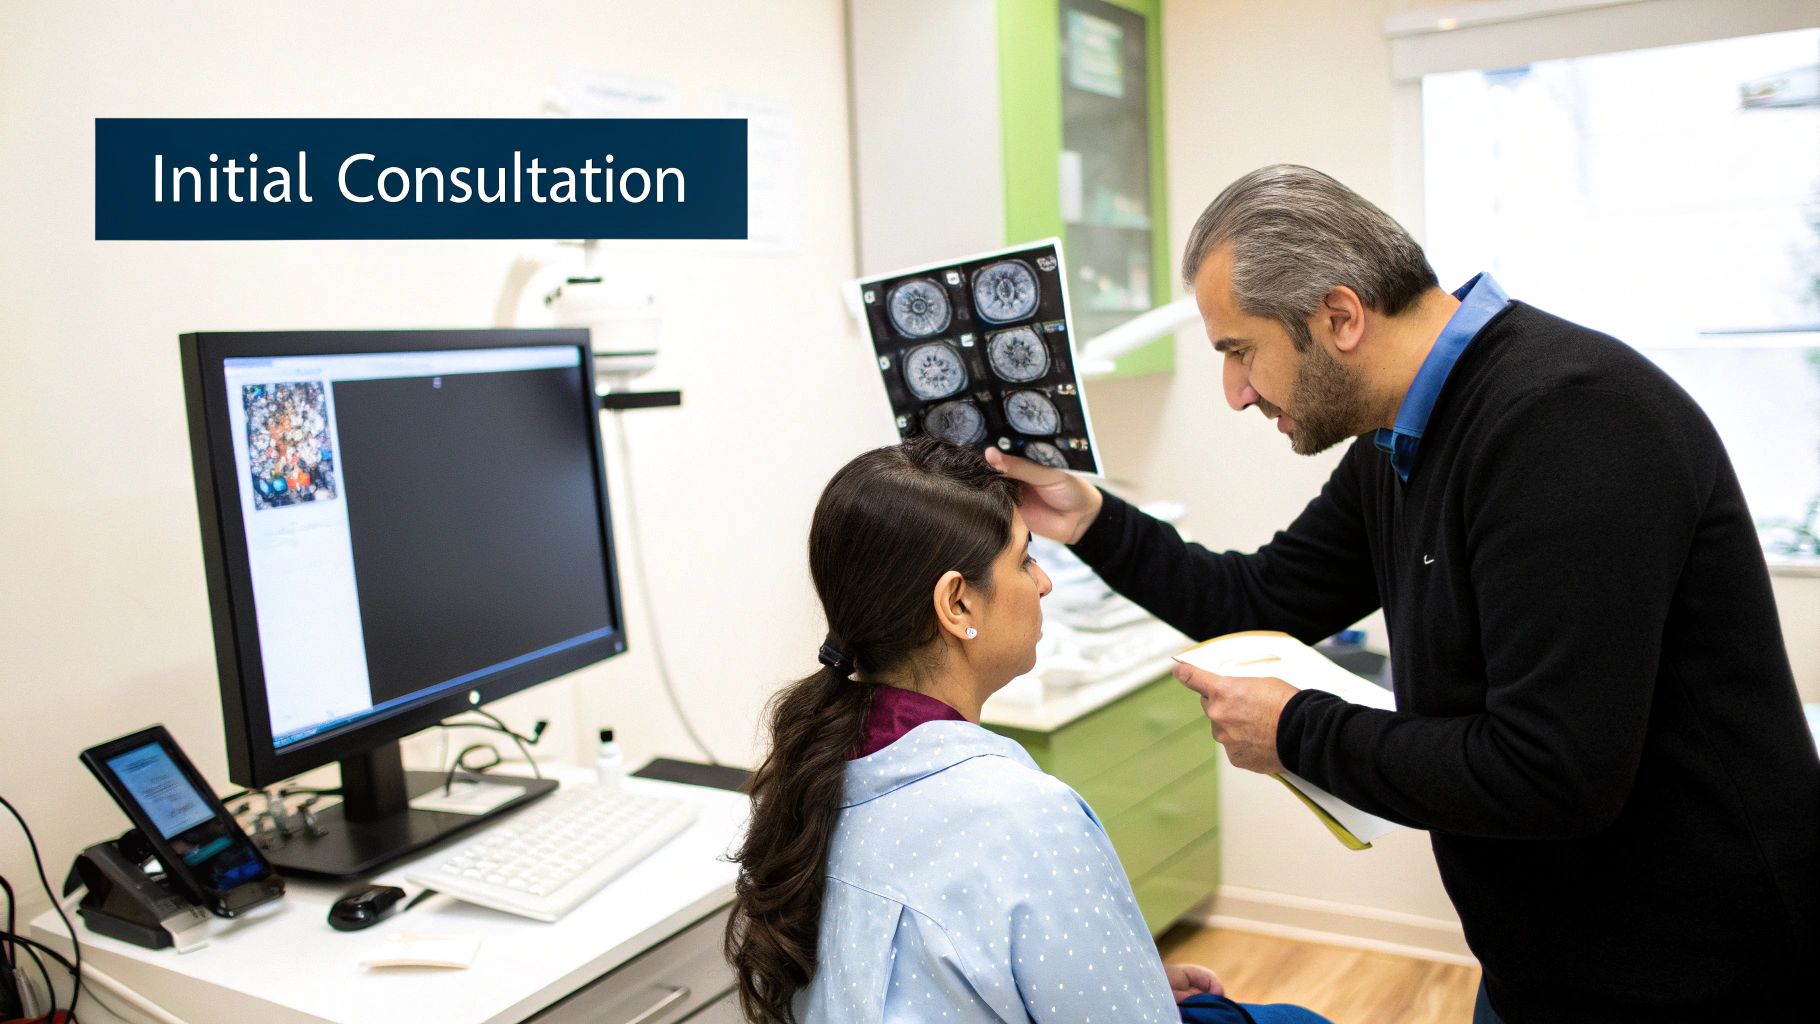
This first meeting is where it all begins. Think of it less as a simple chat and more as a crucial strategy session for your new look. It's an open, honest conversation about your hair loss journey, what you're hoping to get out of SMP, and the final result you're picturing.
Together with your practitioner, you’ll start designing a look that feels completely natural for you. We’ll talk about everything from creating a sharp, defined hairline to a softer, more subtle edge. Your artist will get a good look at your skin type, scalp condition, and existing hair colour to mix a custom pigment blend that will be indistinguishable from real hair follicles once everything has settled.
Designing Your Perfect Look
This is where a true expert makes all the difference. An experienced SMP artist doesn't just put ink to skin; they meticulously design a treatment plan that works with your specific facial structure and hair loss pattern. For instance, building a hairline for someone with a classic receding 'M' shape is a totally different ball game to adding subtle density across a thinning crown.
Your artist will walk you through their exact approach for your situation, making sure the final outcome is a perfect match for you.
This is also your best chance to get all your questions out on the table. It's the right time to look through the artist's past work, get a feel for the full timeline of the procedure, and receive a clear, upfront quote.
The consultation is without a doubt the most critical step in the entire SMP process. It ensures you and your artist share the exact same vision, eliminating any guesswork later on.
The growing popularity of treatments like SMP makes sense when you see how much attitudes towards tattoos have changed in Australia. Recent data shows that 40% of tattooed Australians got their first ink after turning 26, pointing to a mature market of adults who are comfortable investing in body art and cosmetic enhancements.
It's also the perfect moment to talk about any specific conditions that might affect your treatment. If you're weighing up your options, you might find it helpful to understand what a hair specialist for alopecia can offer and why SMP is often such an effective solution. By the end of this session, you should feel completely confident, well-informed, and genuinely excited for the change to come.
How to Prepare for Your SMP Sessions
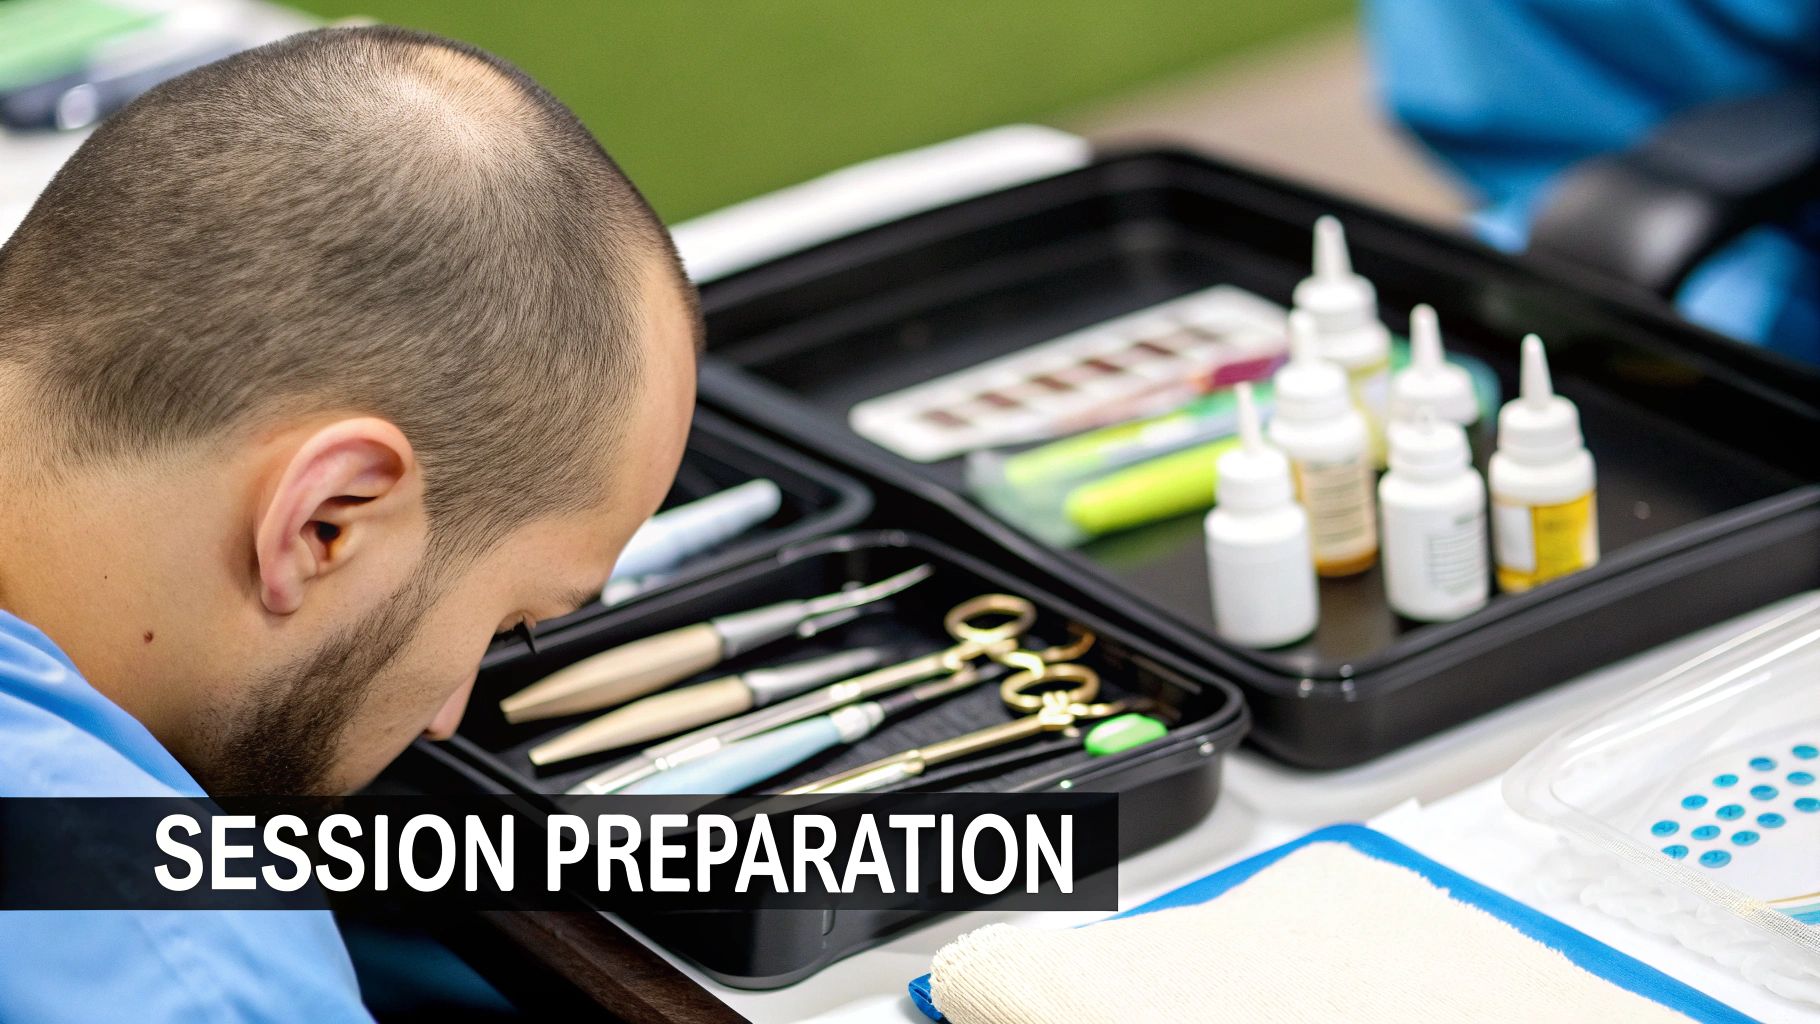
Showing up to your appointment properly prepared can make a massive difference to the final result. Think of it like this: you're creating the perfect canvas for your artist. The better the canvas, the better the art. Proper prep work not only helps your technician deliver their best work but also sets you up for a much smoother healing process afterwards.
The simple things you do in the week leading up to your session are genuinely vital. Your scalp's condition has a direct impact on how well it takes the pigment. A healthy, calm scalp is exactly what we need to create a flawless hair tattoo.
Your Pre-Session Checklist
To get the absolute best outcome, it pays to follow a few straightforward guidelines. Arriving with your scalp in prime condition helps keep redness and sensitivity to a minimum during the procedure, which makes the whole experience far more comfortable for you.
Here's what I always tell my clients:
- Stay Out of the Sun: For at least a week before your appointment, keep your scalp covered and out of direct sunlight. A sunburnt scalp is an inflamed, sensitive scalp, and that’s the last thing we want.
- Avoid Alcohol & Certain Meds: In the 48 hours prior to your session, steer clear of alcohol, aspirin, and ibuprofen. They can thin your blood, which might cause a bit more bleeding and affect how the pigment settles into the skin.
- Show Up Clean and Moisturised: Come to your session with a freshly cleaned and well-moisturised scalp. Healthy, hydrated skin accepts pigment so much better than skin that’s dry or flaky.
- Get a Fresh Haircut: A day or two before your first session, cut your hair down to the length you plan on keeping it. This is a crucial step that helps the artist blend the SMP perfectly with your existing hair for a seamless finish.
If you'd like an even deeper dive, we've put together a full guide on how to prepare for your scalp micropigmentation treatment.
Following these steps isn't just about making the artist's job easier; it's about actively participating in your own transformation to ensure the best possible result.
What Really Happens During the Treatment

Once you’re in the chair and ready to go, the first thing we do is lock in your hairline. We’ll have a great starting point from our initial chat, but now it’s time to get it perfect. Your artist will physically draw the proposed hairline onto your scalp for you to see and approve.
This is your moment to have the final say. We can make small adjustments until it looks and feels completely natural to you. It's a team effort.
Most people are surprised by what the treatment actually feels like. It’s nothing like a conventional tattoo. Instead of that familiar deep buzzing, scalp micropigmentation is more of a light, consistent tapping sensation on the skin. We use a highly specialised machine to deposit incredibly fine dots of pigment just into the upper layer of the dermis, a technique that demands absolute precision.
Why It Takes More Than One Session
The true magic of a convincing hair tattoo is all in the layering. This is exactly why it's never a one-and-done procedure. We build up the density and colour gradually to create a look that has genuine depth and texture, just like real hair.
Your treatment journey is usually split into a few key appointments:
-
Session One: The Foundation. Think of this as laying the groundwork. We'll establish your new hairline and apply the first, lighter layer of pigment across the whole area. This session creates the blueprint for everything that follows.
-
Session Two: Building Density. About a week or so later, you’ll come back in. This is where we start to add density by placing new impressions between the dots from the first session. We often introduce slightly different shades here to begin creating that crucial 3D effect of individual hair follicles.
-
Final Touches. The last session is all about perfection. We fill in any remaining sparse areas, perfect the blend into any existing hair, and dial in the final details. This ensures the final look is completely seamless.
This methodical, multi-session approach is non-negotiable. It’s how we create the subtle shifts in tone you see in a real head of hair. Rushing it would just leave you with a flat, artificial-looking result.
The rising interest in SMP is a big contributor to Australia’s booming tattoo industry. Valued at AUD 37.16 million in 2024, the market is set for serious growth, which shows just how much cosmetic tattooing has become mainstream. For a deeper dive, you can find more stats on the Australian tattoo market growth.
Ultimately, it’s this meticulous layering process that separates a world-class hair tattoo from an average one, giving you a result you’ll be genuinely happy with for years.
Your Aftercare and Healing Guide
Once you walk out of the clinic, the ball is officially in your court. How you look after your scalp in the coming days and weeks is just as important as the treatment itself. This isn't just about healing; it’s about making sure the pigment settles perfectly and stays looking sharp for years.
Your scalp will be quite sensitive right after a session. Think of the thousands of tiny impressions as microscopic open wounds that need to heal cleanly. Getting this part right sets the stage for a fantastic long-term result.
The First Four Days Are Critical
Immediately after your SMP session, your scalp needs to be left completely alone. It’s a delicate healing phase, and your job is to create the perfect environment for the pigment to settle without any interference.
Here’s what you absolutely must avoid for the first four days:
- Keep It Bone Dry: No washing your head, no getting it wet in the shower, and definitely no getting caught in the rain. Moisture is the enemy at this stage.
- No Heavy Sweating: This means taking a break from the gym, saunas, and any strenuous activity. Sweat can push the pigment out before it has a chance to set.
- Avoid the Sun: Direct sunlight is a no-go. If you need to be outside, wear a loose-fitting hat, but make sure it isn’t tight or rubbing against the treated areas.
It might feel like a hassle, but this is a tiny sacrifice for a result that will last for years. Resisting the urge to touch, wash, or sweat is key to preventing fading and blurring.
Aftercare isn't just a friendly suggestion—it's an essential part of the process. The care you take in this first week will directly determine the final look and longevity of your hair tattoo.
After those crucial four days have passed, you can start to ease back into a routine. A light rinse with water is okay, and you can begin applying a gentle, fragrance-free moisturiser to keep the skin hydrated. For a complete day-by-day breakdown, check out our scalp micropigmentation healing timeline guide.
Long-Term Protection for Your Investment
Once your scalp has fully healed, looking after your SMP is pretty simple. There's really only one major thing to worry about: the sun.
UV rays are the number one cause of pigment fading. Over time, sun exposure will break down the pigment and soften the look of your treatment.
The solution is easy. Get into the habit of applying a high-SPF sunscreen to your scalp every single day. Treat it just like you would any other part of your skin. This one simple step will protect your investment, keeping your SMP looking crisp and well-defined for the long haul.
Your Hair Tattoo Questions, Answered
It's only natural to have a few questions before diving into scalp micropigmentation. Getting your head around the details—from what it feels like to how long it lasts—is the best way to feel completely confident about your decision. Let's walk through some of the most common questions we get from our clients here in Australia.
Is Getting a Hair Tattoo Painful?
This is probably the number one question we hear, and the answer is usually a pleasant surprise. Most people find the sensation to be a very light, almost gentle tapping. On a pain scale, they typically rate it a 2 out of 10.
It’s much less intense than a regular tattoo because the needles only work on the very top layer of the skin. We generally don't use numbing creams because they can change the skin's texture, which can affect how the pigment sets. But honestly, the discomfort is so minimal that most people find it easy to handle.
How Long Does a Hair Tattoo Last?
Think of SMP as a permanent cosmetic solution. It’s designed to go the distance. While the pigment itself is permanent, you might notice it lighten very slightly over the years. This is usually down to things like sun exposure and your skin's natural renewal cycle.
To keep your results looking their absolute best, most people find a quick touch-up session every four to six years is all that's needed. It’s a simple way to restore any subtle fading and get that fresh, sharp look back.
Can I Still Grow My Hair?
You certainly can. The SMP process places pigment into the dermis, which sits well above the hair follicles nestled deeper in your skin. Because of this, the treatment has absolutely no effect on your natural hair growth.
If you're going for that full, close-shaven buzz-cut look with SMP, you’ll just need to keep any existing hair trimmed short to maintain a flawless blend. This is a big topic, and our guide on why shaving your head for scalp micropigmentation is often the best approach covers it in detail. For those just adding density to thinning hair, you can keep wearing your hair at whatever length you like.
Ready to see what scalp micropigmentation could do for you? At My Transformation, we're committed to finding the perfect hair loss solution for your needs. Book your free consultation today and let's start this journey together.