Do You Have to Shave Your Head for Scalp Micropigmentation?
Share
So, you’re thinking about scalp micropigmentation and wondering about the all-important haircut. For almost everyone considering SMP, the answer is a firm yes—you'll need to shave your head.
Think of your scalp as a painter's canvas. A close shave creates the perfect, smooth surface for your artist to work their magic, meticulously replicating the look of natural hair follicles. This isn't just a suggestion; it’s the crucial first step to getting that seamless, undetectable finish we're all after.
Why Shaving is So Important for SMP
Shaving your head for SMP isn't just about making the artist's job easier; it's fundamental to getting a result that looks completely real. The entire goal of scalp micropigmentation is to create the illusion of a full head of hair with a sharp "buzz cut" style. For that illusion to hold up, the tiny pigment deposits have to blend perfectly with any hair you still have.
When your head is shaved down, the artist has a clear view to work with. This allows them to:
- Match Your Natural Density: They can see exactly where your real follicles are and how they’re spaced, letting them replicate that pattern flawlessly. No weirdly empty or overly dense patches.
- Align the Pigment Perfectly: An artist can follow the natural angle and direction of your hair growth, ensuring every tiny dot looks like a real stubble.
- Control Pigment Depth: A smooth scalp allows for consistent needle depth, which is absolutely vital for how the pigment looks and how long it lasts.
If you leave your hair long, it gets in the way. It casts shadows and physically blocks the needle, making that kind of precision next to impossible. Here in Australia, where SMP has become a go-to solution for hair loss, the expert consensus is clear: a shaved head is non-negotiable for a top-tier result. If you're curious, you can learn more about scalp micropigmentation trends in Australia.
At its core, scalp micropigmentation is all about creating consistency. Shaving the head gets rid of all the variables, giving the artist a clean slate to build a flawless, 3D illusion of hair density.
Ultimately, that fresh shave provides the ideal foundation for building the most convincing and natural-looking result possible.
Why a Shaved Head Creates the Perfect SMP Canvas
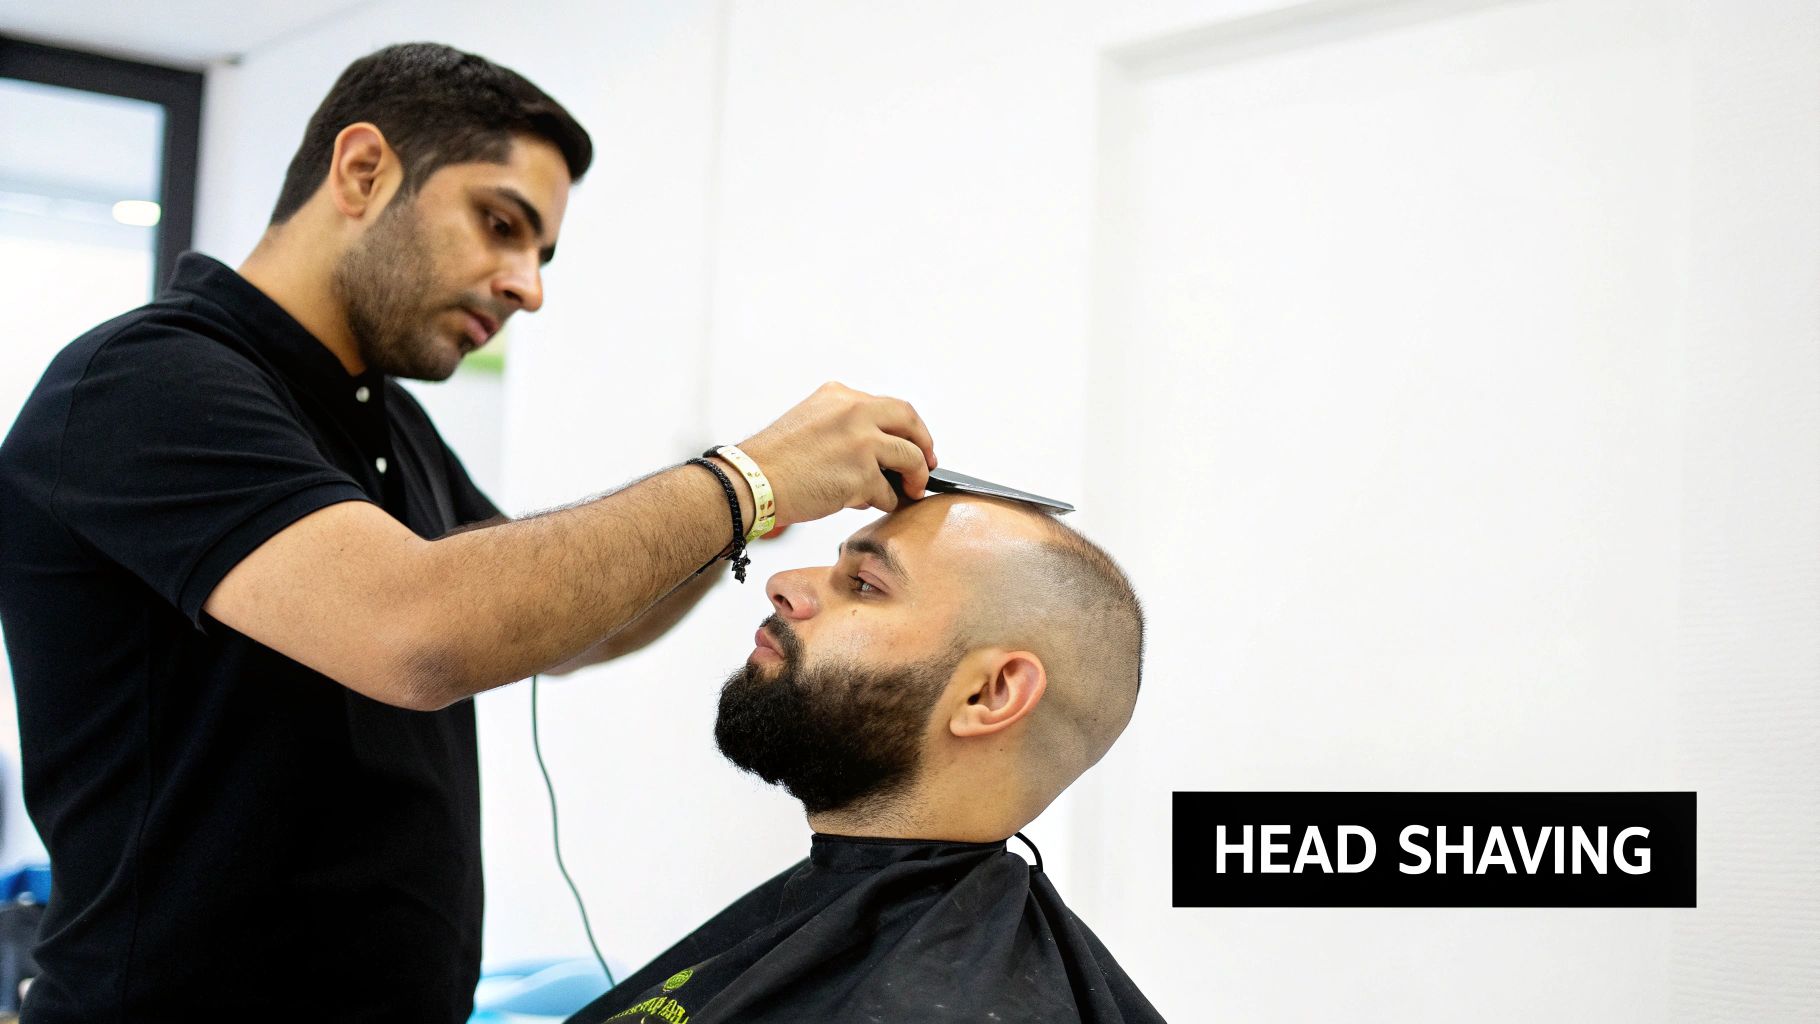
Think of it like an artist trying to paint a masterpiece on a shaggy rug versus a smooth, primed canvas. It’s pretty obvious which one will give a better result. That’s the core reason a shaved head is the gold standard for most scalp micropigmentation procedures, especially if you’re looking to rebuild a hairline or camouflage significant balding.
When you shave your head, you’re essentially giving your SMP artist a perfectly smooth, clear surface to work on. This gives them complete control over every single pigment deposit, without any longer hairs getting in the way.
That clear view is everything. It allows the practitioner to see exactly what they’re doing, letting them match the angle and direction of your remaining hair stubble with incredible precision. Longer hairs don't just physically obstruct the needle; they also cast tiny, unpredictable shadows that can lead to patchy density and an unnatural finish.
Achieving a Flawless Blend
By getting rid of those variables, the artist can focus 100% on the technical skill and artistry required for a hyper-realistic result. The whole point is to create a seamless, three-dimensional illusion of a full head of hair that looks like a sharp, fresh buzz cut.
This level of detail is only achievable when the scalp is totally clear. It ensures every dot is perfectly placed, creating a uniform look from the soft, feathered hairline right through to the denser crown. For men with advanced hair loss, say a Norwood scale 5-7, shaving is absolutely essential to pull off a believable look.
A shaved head takes all the guesswork out of the SMP process. It allows the artist to meticulously build layers of density, creating a result so realistic that it’s impossible to tell the difference between pigment and real hair follicles.
Ultimately, this simple preparation step is what sets the treatment up for success. While shaving your head might feel like a big commitment, it’s the key to getting that sharp, clean, and incredibly convincing look that makes SMP such a popular choice. Many men discover that scalp micropigmentation is the answer to hair loss once they fully embrace this proven method.
When You Can Keep Your Hair Longer for SMP
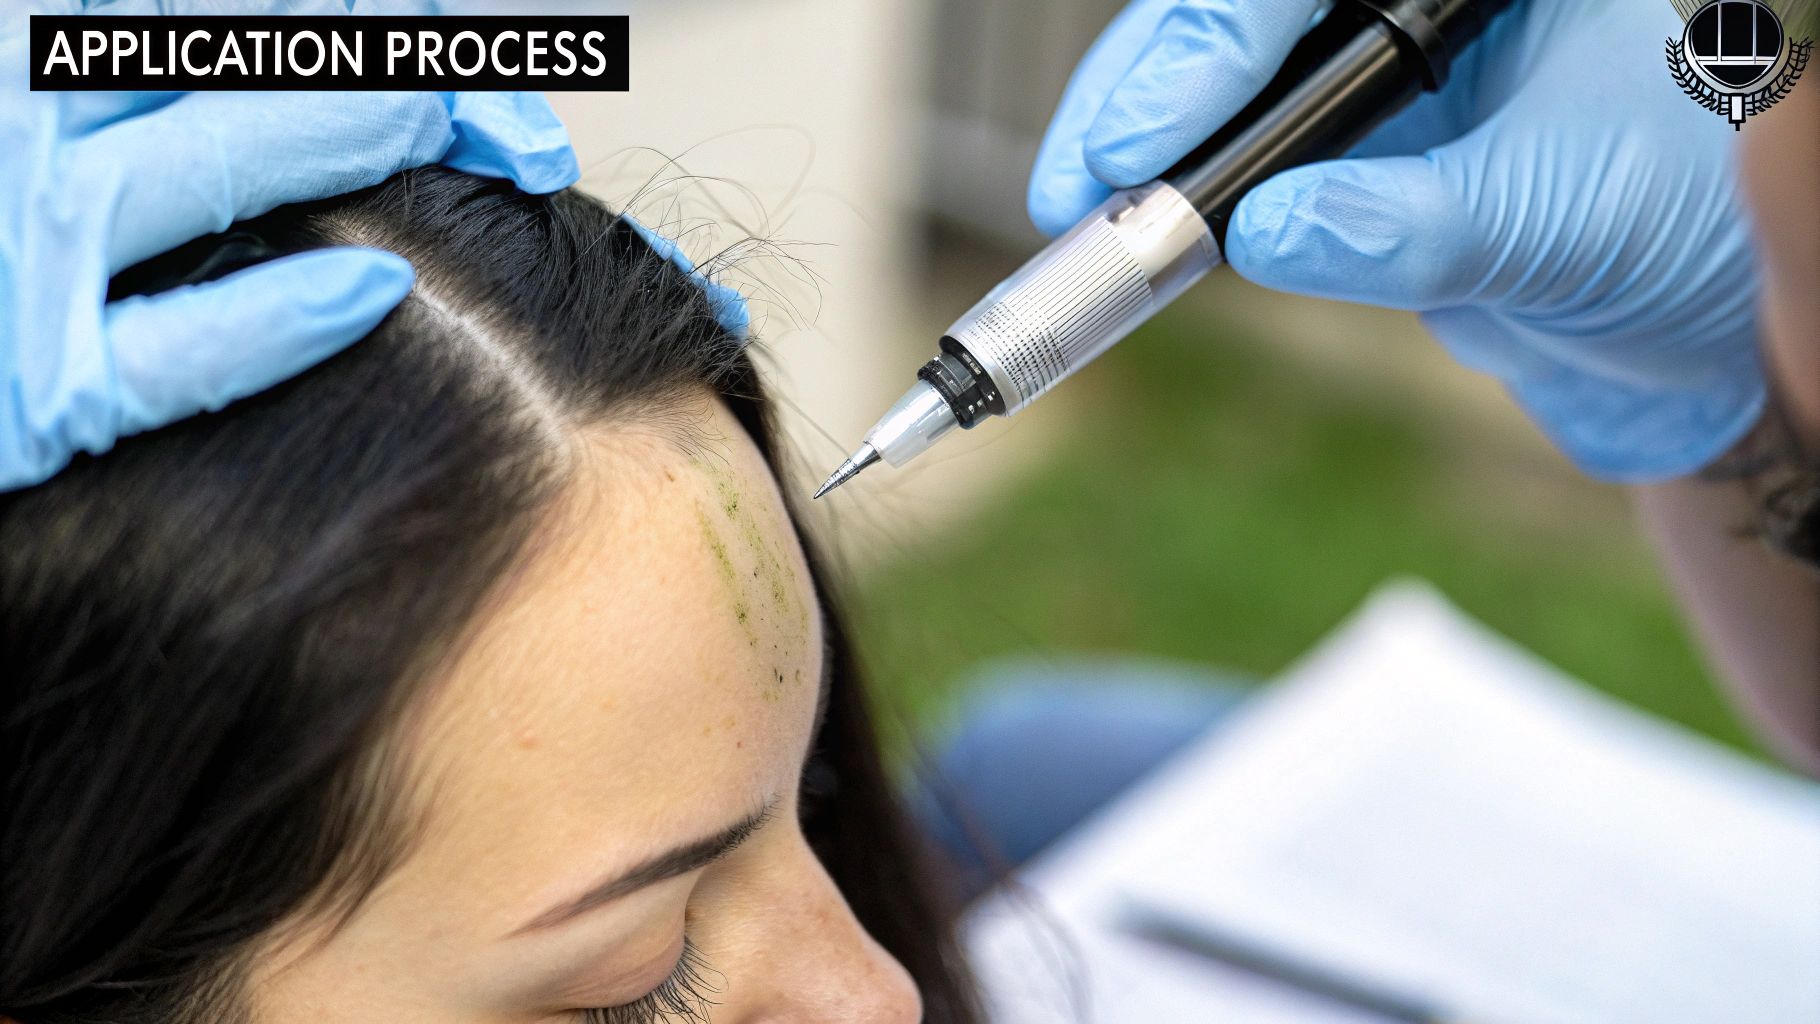
While the shaved-head look is the most common path for SMP, it’s definitely not the only one. For some people, especially those with diffuse thinning all over their scalp, we can use SMP to create an incredible illusion of density without reaching for the clippers at all.
In these situations, the goal shifts. We're not trying to build a new hairline or replicate a fresh buzz cut. Instead, the focus is on reducing the stark contrast between your natural hair and the scalp peeking through. Think of it like a makeup artist using a subtle shadow to create depth – we’re doing the same for your hair.
Your SMP artist will meticulously apply pigment in the gaps between your longer hair strands. This technique essentially shades in the scalp, which makes your existing hair look worlds thicker and fuller, giving you fantastic coverage right where you need it.
Understanding the Density Treatment Approach
This method is a highly specialised skill. It demands an artist with a steady hand and a keen eye, as they have to carefully work around existing hairs to place the pigment for a blend that looks completely natural.
This approach is a brilliant solution for:
- Women experiencing diffuse thinning, where keeping hair length is often the top priority.
- Men in the early stages of balding who aren't ready to commit to a shaved head but want to add some fullness back.
- Clients with specific hair loss conditions, like certain types of alopecia. For a deeper dive, you can read our guide on using scalp micropigmentation for alopecia.
This density-focused treatment is all about enhancing what you’ve already got. It's a strategic camouflage that adds visual weight and volume to thinning hair, making it a powerful option for anyone not looking to shave.
Even though it’s a great solution, it’s important to know that most people still go for the classic shaved-head SMP. In fact, data from Australian SMP clinics shows that over 75% of clients choose to shave. This gives the artist a perfectly clean canvas to work with and ensures the pigment blends flawlessly with any surrounding stubble.
Shave or No Shave? Matching SMP to Your Hair Loss
The big question on everyone's mind is, "Do I really have to shave my head for this?" It’s a fair question, but there's no single answer. The right choice for you boils down to your specific pattern of hair loss and what you're hoping to get out of the treatment.
Think of it this way: someone with significant hair loss, like a Norwood Stage 6 or 7, is looking for a complete restoration of their hairline. The goal is to create that sharp, clean buzz-cut look. For this to work, you absolutely have to shave. It’s the only way to flawlessly blend the pigmented follicles with your remaining hair for a look that’s totally natural and undetectable.
But if you're just starting to see some thinning on the crown or your part line is looking a bit wider than it used to, you're in a completely different boat. For you, a "density treatment" might be the perfect fit, and the best part is, you often don't have to shave at all.
Matching the Technique to Your Needs
When you have thinning hair but still have good coverage overall, an experienced artist can work their magic between your existing hair strands. The goal here isn’t to build a new hairline from scratch. Instead, it's about adding depth and reducing that stark contrast between your scalp and hair. This "shading" technique creates a powerful illusion of thickness, making your hair look much fuller.
We also see a lot of clients who want to camouflage scars, usually from old hair transplant procedures. Whether you need to shave for this really depends on how visible the scar is and the length of the hair around it. A talented practitioner can often work the pigment right into the scar tissue to blend it away, though a bit of a trim is usually helpful to get the best result.
This decision tree gives you a great visual guide to help figure out the best way to prep for your SMP sessions.
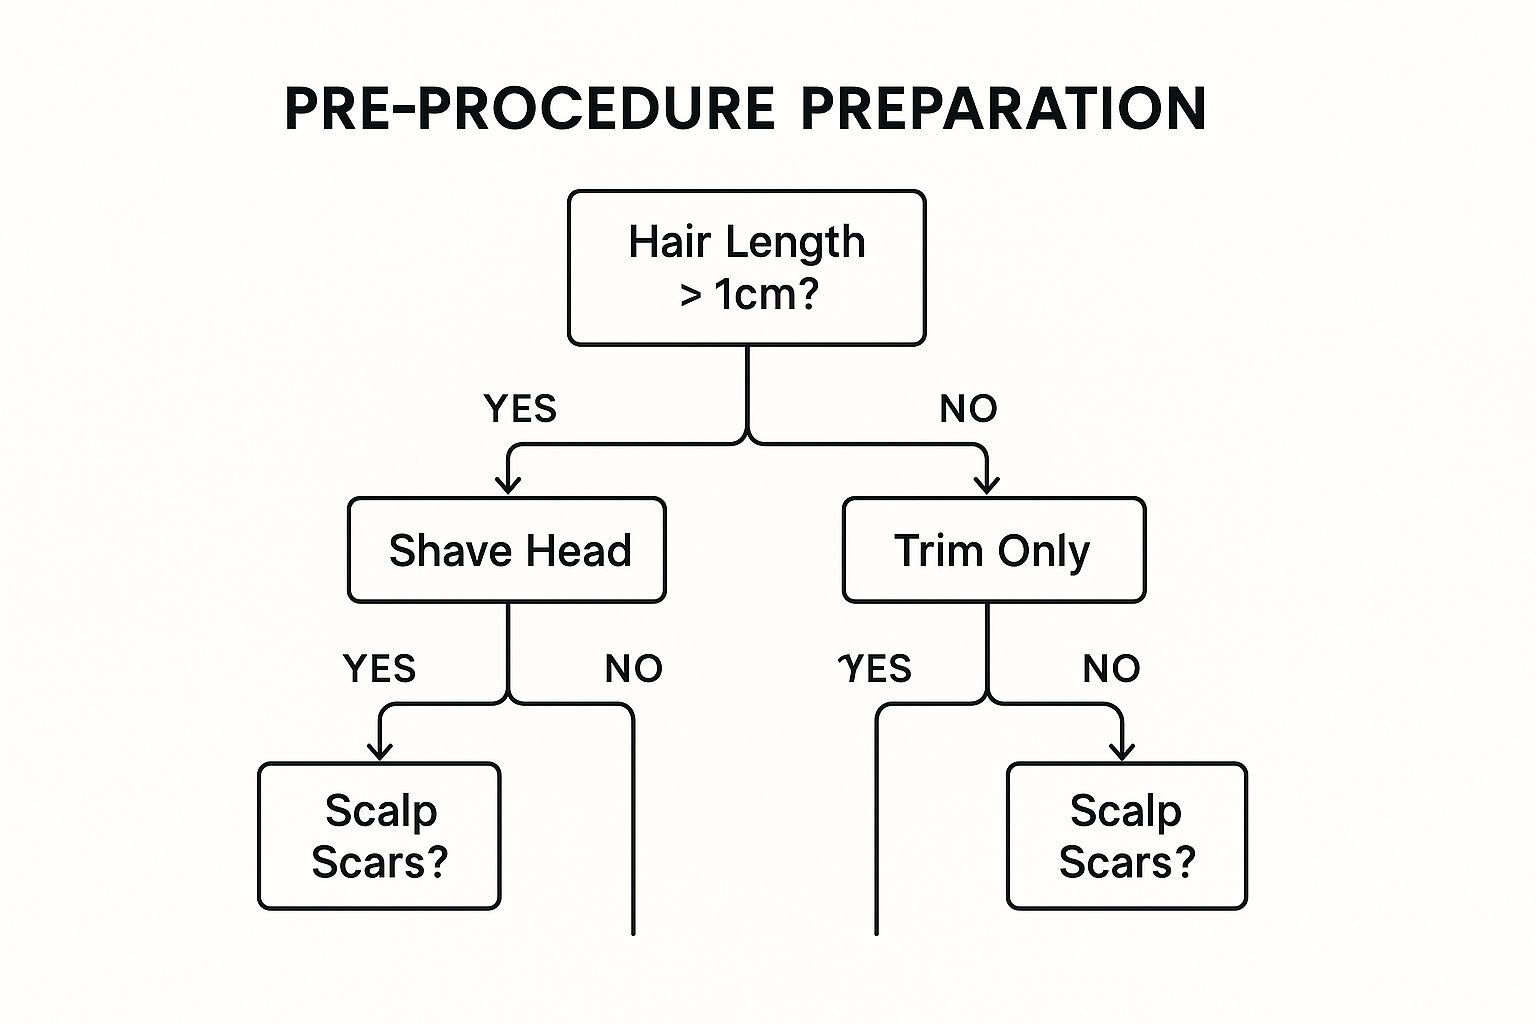
As you can see, factors like existing scars and your current hair length play a huge role in the final decision.
The core principle is simple: if the SMP needs to create the look of a full head of shaved hair, you must shave. If it’s just about adding density underneath existing hair, you can almost always keep your length.
Here’s a quick guide that breaks down the most common scenarios we see.
SMP Shaving Guide for Different Hair Loss Patterns
| Hair Loss Pattern | Typical SMP Recommendation | Primary Goal of Treatment |
|---|---|---|
| Receding Hairline/Temple Loss | Shave Required | Rebuild a natural, sharp hairline and frame the face. |
| Crown Thinning (with hair) | No Shave (Density Fill) | Reduce scalp visibility and create the illusion of thicker hair. |
| Overall Diffuse Thinning | No Shave (Density Fill) | Add underlying shade to make existing hair appear fuller. |
| Advanced Balding (Norwood 5+) | Shave Required | Create a full "buzz cut" look across the entire scalp. |
| Scar Camouflage | Case-by-case (often a trim) | Blend scar tissue seamlessly with the surrounding hair follicles. |
Ultimately, this table is just a guide. The only way to know for sure what's right for you is to sit down with a professional. An expert can properly assess your hair loss, listen to your goals, and map out the perfect plan.
If you’re ready for an expert opinion, a great first step is to find scalp micropigmentation near me and book a proper consultation. It's the best way to get all your questions answered.
How to Prepare Your Scalp for Your SMP Session
Getting the best possible result from your scalp micropigmentation isn't just about what happens in the artist's chair. True success starts in the days leading up to your session. It's all about creating the perfect canvas for your artist to work their magic on.
Think of your scalp as the foundation for a masterpiece. About a week out, your main goal is to get that skin into prime condition. This means moisturising it every day to make sure there's no dryness or flaking, which can really mess with how the pigment settles into the skin. Just be careful to steer clear of heavy, greasy oils that might clog your pores.
Your Pre-Session Checklist
Sun protection is a massive one during this prep week. The last thing you want is to show up with a sunburnt or irritated scalp. Your artist simply can't work on inflamed skin, so keeping it protected is non-negotiable.
A solid game plan involves a few simple, but absolutely crucial, steps:
- Moisturise Daily: For the week leading up to your appointment, use a light, non-greasy moisturiser on your scalp every single day.
- Avoid Sunburn: If you're going to be outside, wear a hat. It's the easiest way to prevent any sun damage.
- Perform a Close Shave: On the morning of your session, give your head a close shave. You can use clippers with no guard or go for a wet razor shave.
- Avoid Blood Thinners: For at least 24 hours before your appointment, stay away from alcohol and medications like aspirin, as they can thin your blood and increase bleeding.
Getting the skin ready is a common thread for many cosmetic procedures. You’ll notice similar advice in these expert tips on preparing for hair removal, highlighting just how important it is.
Following these simple steps does more than just prepare your skin; it sets you and your artist up for a successful, seamless outcome by creating the ideal working surface.
Here in Australia, this approach is definitely the go. Client surveys show that around 68% of people shave their heads right before treatment, with most saying they believe it helps the pigment hold better. For a complete walkthrough of what to do, have a look at our detailed guide on how to prepare for scalp micropigmentation treatment.
Common Questions About Shaving for SMP
Even after understanding why shaving is so important for SMP, you probably still have a few questions rolling around in your head about how it all works in practice. That’s completely normal.
Let's tackle some of the most common things clients ask us about the shaving side of SMP. We want you to walk into this feeling totally prepared and confident, with no surprises down the track.
Do I Have to Keep My Head Shaved Forever?
For the classic SMP look, the short answer is yes. The entire treatment is designed to masterfully replicate the look of a full head of hair that’s been buzzed or clean-shaved. It’s all about creating a seamless illusion between the 2D pigment and any real 3D hair stubble.
If you let your remaining hair grow out, you’ll start to see a difference in texture. The longer, real hair shafts will look and feel different from the flat, pigmented 'follicles'. This contrast, unfortunately, shatters the illusion of that sharp, uniform buzz cut.
The good news? Most guys find they absolutely love the clean, low-maintenance shaved look. It’s a sharp style that simplifies their daily routine and perfectly complements the SMP treatment.
What if My Hair Loss Gets Worse After a Density Treatment?
This is a fantastic question and a crucial one to discuss with your artist before you begin a density treatment. If your hair loss continues after getting SMP to add fullness among longer hair, the pigmented areas will eventually become more visible.
When that happens, the best move is to fully embrace the classic shaved look. Your artist can then add more pigment in a few follow-up sessions, blending the original density work into a complete, flawless buzz-cut style. It’s a solution that adapts with you over time.
The real beauty of SMP is how adaptable it is. A density treatment today can easily evolve into a full buzz-cut look tomorrow, making sure your investment always works for you, no matter how your hair changes.
How Short Should I Shave Before My Session?
Your clinic will give you specific instructions, but the golden rule is to shave your head as close as you can on the morning of your appointment. Think of it as preparing a perfectly smooth canvas for your artist to work their magic on.
Most artists will recommend one of two approaches:
- Clippers with no guard: This gets the hair down to a very short stubble and is a great option if you're not a fan of using a razor.
- A wet shave with a razor: This is the gold standard. It creates the smoothest possible surface, which allows your artist to be incredibly precise with their work.
Always double-check the exact plan with your chosen artist beforehand. Getting the prep right is just as important as the aftercare. To learn more about that, check out our guide on scalp micropigmentation aftercare.
Will Shaving Make My Remaining Hair Grow Back Thicker?
This is one of the oldest hair myths in the book! The simple, scientific answer is no. Shaving has absolutely zero effect on the thickness, colour, or growth rate of your hair.
When you shave, you’re just cutting the hair shaft flush with the skin, which creates a blunt tip. As that hair starts to grow back, the blunt edge can feel a bit coarse or stubbly for a day or two, which is what people mistake for thicker growth. But rest assured, the hair follicle deep under the skin isn't changed one bit.
At My Transformation, we are dedicated to helping you find the perfect hair loss solution. If you're ready to explore how SMP can work for you, visit us at https://www.mytransformation.com.au to book your consultation.
