

A Guide to Teeth Whitening for Sensitive Teeth
Of course, you can still get a brilliant, white smile even if you have sensitive teeth. It just means you need to be a bit smarter about your approach. That "zing" you might feel during a whitening treatment isn't a sign of damage; it's simply your teeth reacting to the whitening agents. The great news is that it's a response you can absolutely manage.
Why Do My Teeth Feel Sensitive After Whitening?
Before jumping into any whitening treatment, it really helps to understand what's happening inside your tooth to cause that sensitivity. Your tooth enamel is like a tough, protective shield. Right underneath it is a softer, more porous layer called dentin, which is filled with thousands of tiny tubes that lead straight to the tooth's nerve.
When you apply a whitening agent like hydrogen peroxide or carbamide peroxide, it has to get past the enamel to break down stains. To do this, it temporarily makes the enamel more permeable. This allows the agent to get to the dentin, but it also causes a bit of dehydration, which reduces the tooth's ability to insulate the nerve from temperature changes. That’s what causes that short, sharp feeling of sensitivity.
Are Some People Just More Prone to This?
Absolutely. It's a very common thing. In fact, over 60% of Australians say they have naturally sensitive teeth, often due to things like genetics or just having thinner enamel. When you introduce whitening into the equation, that existing sensitivity can flare up for a short while.
But here's the reassuring part: this effect is almost always temporary. For most people, it fades away within 12 to 36 hours after the treatment.
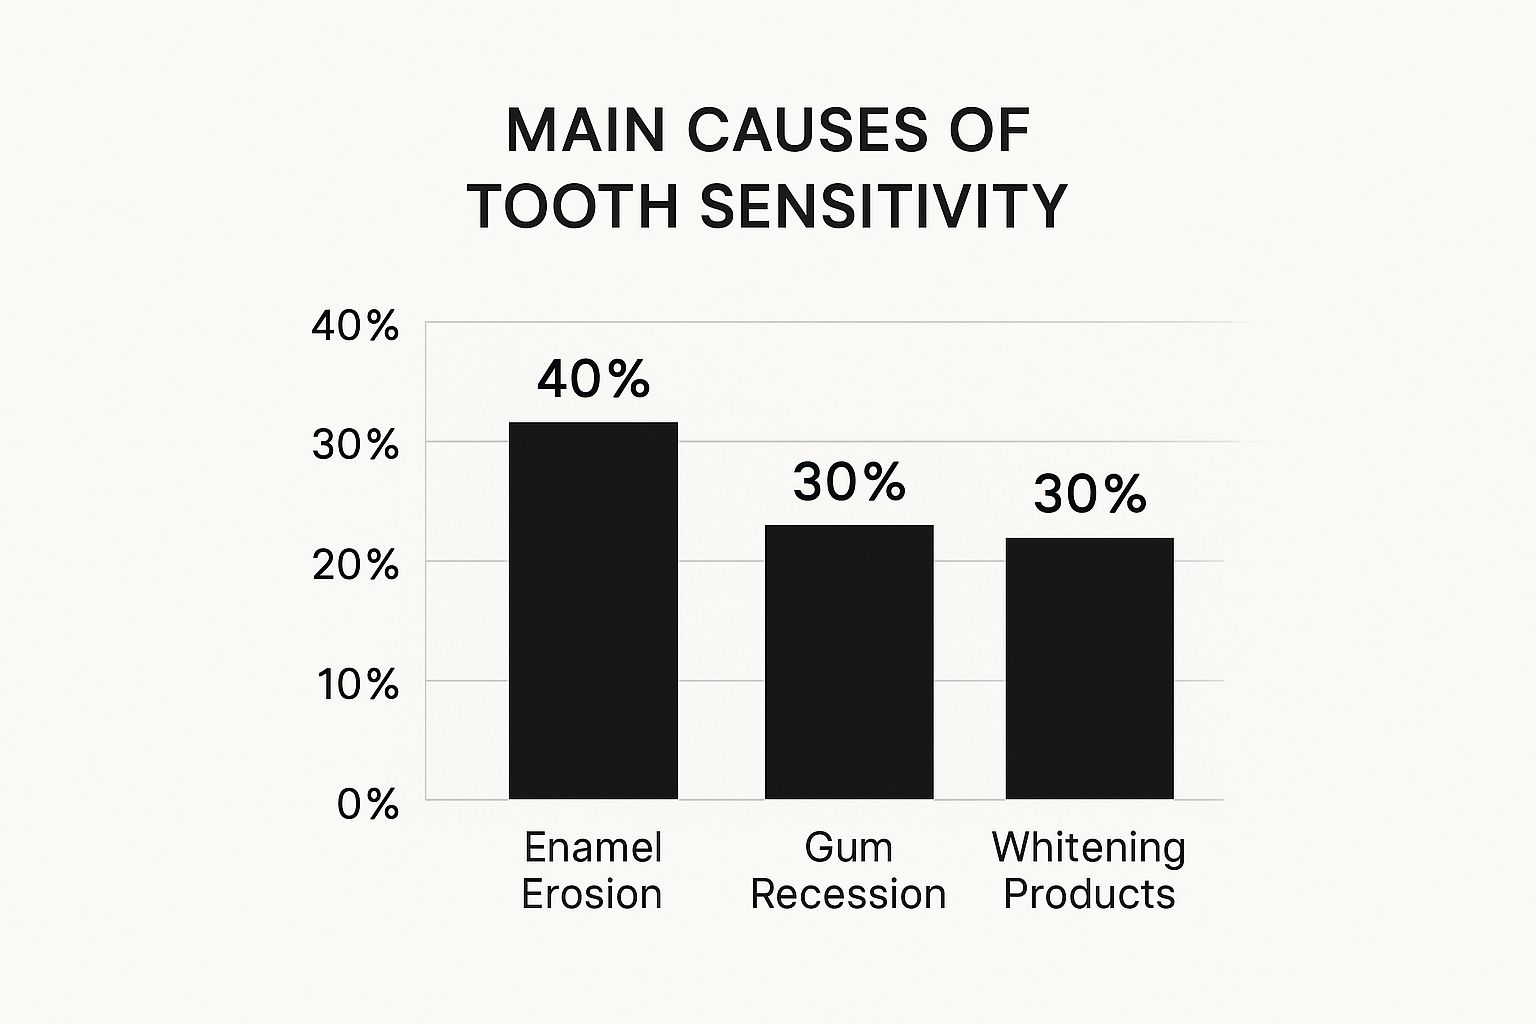
As you can see, while whitening products are a known trigger, underlying issues like enamel erosion and gum recession are often the bigger culprits behind day-to-day sensitivity.
What Role Do Enamel and Dentin Play?
The thickness of your enamel makes a huge difference. Someone with naturally thick, healthy enamel might whiten their teeth and not feel a thing. On the other hand, if your enamel is on the thinner side or you have recessed gums, you're more likely to feel that sensitivity.
Receding gums are a big factor because they expose the root of the tooth. This part isn't covered by enamel at all, so it’s much closer to the nerve and far more vulnerable to stimuli.
The sensitivity from teeth whitening isn't a red flag for damage. It’s a temporary side effect from the tooth's dehydration during the process, which makes the nerve more reactive. Think of it as a brief, predictable reaction, not a lasting problem.
Understanding this process is the key to a comfortable whitening experience. It’s not about giving up on getting a brighter smile; it’s about choosing the right method and taking a few simple precautions. Knowing the "why" behind the zing empowers you to master the "how" of whitening without the ouch.
If you have more specific questions, you might find the answers you're looking for in our frequently asked questions section.
Setting Yourself Up for Success: Pre-Whitening Prep
Getting a brilliant smile when you have sensitive teeth isn’t just about the whitening kit itself. The real magic, and the secret to a comfortable experience, starts weeks before you even think about applying that first strip or gel. It's all about prepping your teeth to handle the process.
Think of it this way: you’re building up your teeth's resilience. The goal is simple – to minimise that temporary zing of sensitivity that whitening products can sometimes cause. A little groundwork now makes the entire journey to a brighter smile feel like a walk in the park.
First Things First: See Your Dentist
Before you buy any whitening product, your absolute first stop should be the dentist's chair. For anyone with sensitive teeth, this isn't just a friendly suggestion; it's the most crucial step in the whole process.
A professional check-up is your safety net. Your dentist can spot little issues that could flare up into major pain once a whitening agent is introduced. Things like:
- Hidden cavities: Whitening gel getting into a decayed area can cause a sharp, nasty shock.
- Gum recession or disease: When the roots of your teeth are exposed, they are incredibly sensitive and shouldn't be touched by peroxides.
- Tiny cracks or chips: These fissures act like open doors, letting the whitening gel straight through the enamel to the sensitive nerve inside.
Getting a clean bill of health from your dentist gives you the confidence to move forward safely. It's also the perfect chance to chat about your whitening goals and get some tailored advice. If you're looking for that kind of professional support, exploring options for teeth whitening in Perth is a great way to connect with experts who understand sensitive teeth.
Start a Desensitising Routine
Once your dentist gives you the all-clear, it's time to get proactive. At least two weeks before you plan to start whitening, you need to switch up your toothpaste.
You're looking for a specific desensitising toothpaste, one that contains potassium nitrate. This isn't just a marketing gimmick; this ingredient genuinely helps to soothe the nerves inside your teeth. Over a couple of weeks, it builds up a sort of protective shield, making your teeth less reactive to things like whitening gels or even just cold air.
My Favourite Trick: Don't just brush with it. Right before bed, after you've brushed, take a small pea-sized amount of the desensitising toothpaste on your finger and smear it over the front of your teeth. Just leave it on overnight. This gives the potassium nitrate maximum contact time to work its magic.
Fortify Your Enamel
While the desensitising toothpaste is calming the nerves, you can also work on strengthening your enamel – your smile’s natural armour. Adding a daily fluoride mouthwash to your routine in the lead-up to whitening can make a real difference.
Fluoride helps to remineralise and harden the enamel surface. A stronger, less porous enamel means the whitening agent has a tougher time penetrating the tooth, which often translates to less sensitivity.
Here’s a simple timeline to help you map it all out for a more comfortable whitening session:
| Timeline | Your Action Plan |
|---|---|
| 3-4 Weeks Before | Get your dental check-up and clean sorted. |
| 2 Weeks Before | Make the switch to a desensitising toothpaste with potassium nitrate. |
| 1 Week Before | Begin using a daily fluoride mouthwash to bolster your enamel. |
| Whitening Day | About an hour beforehand, gently brush with your desensitising toothpaste. |
Following these simple prep steps means you’re not just crossing your fingers and hoping for the best. You're actively taking control of the outcome. This forward-thinking approach is what truly separates a painful attempt from a successful, comfortable whitening experience.
Choosing the Best Whitening Products for Sensitive Teeth
Walking down the dental care aisle can feel pretty overwhelming. You're faced with a wall of products all promising a brilliant, whiter smile. But when you have sensitive teeth, the game changes. You're not just looking for results; you're trying to find a gentle, effective option that won't leave you wincing. Getting this choice right is everything.
The secret to successful teeth whitening for sensitive teeth is all in the active ingredients. Most at-home kits rely on either hydrogen peroxide or carbamide peroxide to do the heavy lifting. They work, but high concentrations of these bleaching agents are usually the main culprits behind that sharp, zinging pain.
This is a big deal in Australia, where it's estimated over 44% of people already deal with sensitive teeth before they even think about whitening. The Australian Dental Association has warned that some DIY kits pack in peroxide levels high enough to irritate gums and trigger discomfort, which really drives home the need to choose your product carefully. You can get more details by checking out these facts about teeth whitening safety.
Decode the Ingredients Label
Your first mission is to become an ingredient detective. Don't just get swayed by the flashy promises on the front of the box. Flip it over and study the fine print. You're specifically looking for formulas designed with sensitivity in mind.
Here’s a quick cheat sheet for what to look for:
- Lower Peroxide Concentrations: For hydrogen peroxide, you'll want to stick to products with 6% or less. Carbamide peroxide is a bit gentler, so look for concentrations around 10–15%, which is a roughly equivalent strength.
- Peroxide-Free Alternatives: Newer formulas with an ingredient called Phthalimidoperoxycaproic Acid (PAP) are a fantastic alternative. PAP gets to work oxidising stains without releasing the same by-products that can lead to sensitivity.
- Desensitising Agents: The best products now include ingredients like potassium nitrate or fluoride right in the whitening gel. These work to actively soothe the nerves while you whiten.
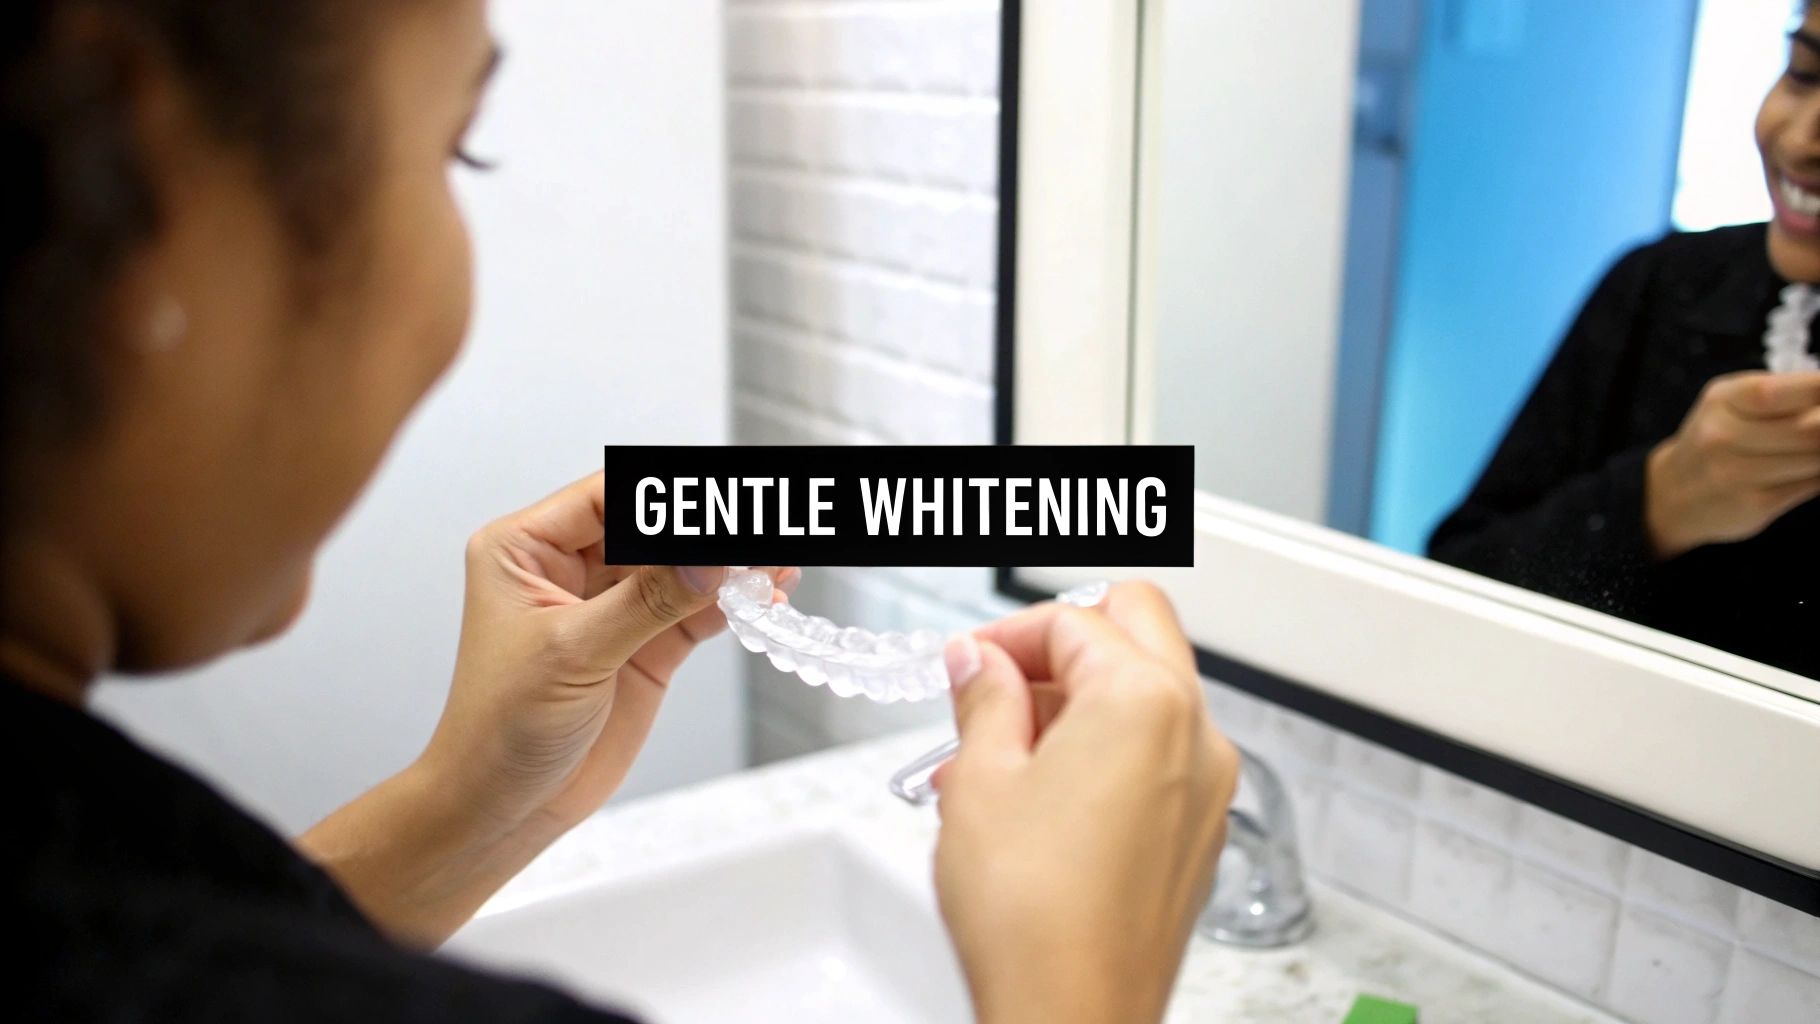
Custom-Fitted Trays Versus One-Size-Fits-All
How the whitening gel is applied is just as critical as what’s in it. This is where professional or custom-fitted trays have a massive advantage over the one-size-fits-all strips and trays you grab from the chemist.
A poorly fitting tray or strip lets the whitening gel seep out and pool on your delicate gum tissue. This is a fast track to irritation, inflammation, and discomfort that has absolutely nothing to do with your teeth.
A custom tray, made from a mould of your own teeth, keeps the gel exactly where it belongs: on your tooth enamel. And nowhere else. This precision doesn't just prevent gum irritation; it also gives you a much more even, consistent whitening result without any patchiness.
While our focus here is on teeth, the principle of a tailored approach is universal in cosmetic procedures. For example, getting a natural look in other treatments requires the same kind of precision, which you can see in this overview of what scalp micropigmentation is all about.
Ultimately, picking the right product isn't about finding the strongest formula. It's about finding the smartest one for you. By prioritising lower peroxide levels, checking out modern alternatives like PAP, and insisting on a perfect fit, you can get that brilliant smile without the flinch.
Right then, let's get down to the business of actually applying your at-home whitening treatment. Once you've chosen the right product and prepped your teeth, your success really boils down to your technique. How you put the product on is just as crucial as what you're using. A careful, measured approach is the secret sauce to getting a brilliant smile without that familiar, unwelcome zing of sensitivity.
Think of this less like a sprint and more like a gentle, gradual brightening. The idea isn't to blitz your teeth with whitening gel, but to give them consistent, controlled exposure. This is how you achieve a whiter smile comfortably and effectively.
Mastering a Gentle Application
Your first line of defence against any discomfort is protecting your gums. The whitening agent is formulated for your tough tooth enamel, not the soft, delicate tissue of your gums. A simple but incredibly effective trick is to create a physical barrier.
Before you even think about applying the gel or strips, grab a cotton bud and some petroleum jelly. Carefully trace a thin layer right along your gumline where your teeth and gums meet. This creates a neat little waterproof shield, stopping any stray gel from seeping onto your gums and causing irritation. If you're using a whitening tray, be extra precise with the gel. You only need a tiny bead in each tooth impression—any more is just going to ooze out and be wasted.
My Go-To Tip: I always keep a clean, dry cotton bud or a bit of tissue nearby during a treatment. The second you spot any whitening gel touching your gums, gently wipe it away. This one tiny action makes a massive difference in preventing soreness later on.
Customise Your Treatment Schedule
One of the biggest blunders I see people make is following the instructions on the box to the letter, even when their teeth are screaming at them to stop. You absolutely have to listen to your body. Those instructions are written for the "average" user, but only you know your own sensitivity levels.
Feel free to make these adjustments and create a schedule that works for you:
- Shorten the Wear Time: If the box says to wear the strips for 30 minutes, why not start with just 15? You can always build up the time in later sessions if your teeth are feeling good. You'll still get fantastic results; it just might take a few extra applications to get there.
- Space Out Your Sessions: Instead of whitening every single day, try switching to every other day. Or even just twice a week. Giving your teeth and their nerves plenty of time to recover and rehydrate between treatments is a game-changer for reducing sensitivity buildup.
Honestly, this slower, more gradual approach is far better for anyone with sensitive teeth. It delivers the same stunning white smile but on a timeline that puts your comfort first. Remember, slow and steady doesn't just win the race—it makes the entire journey a comfortable and pain-free one from start to finish.
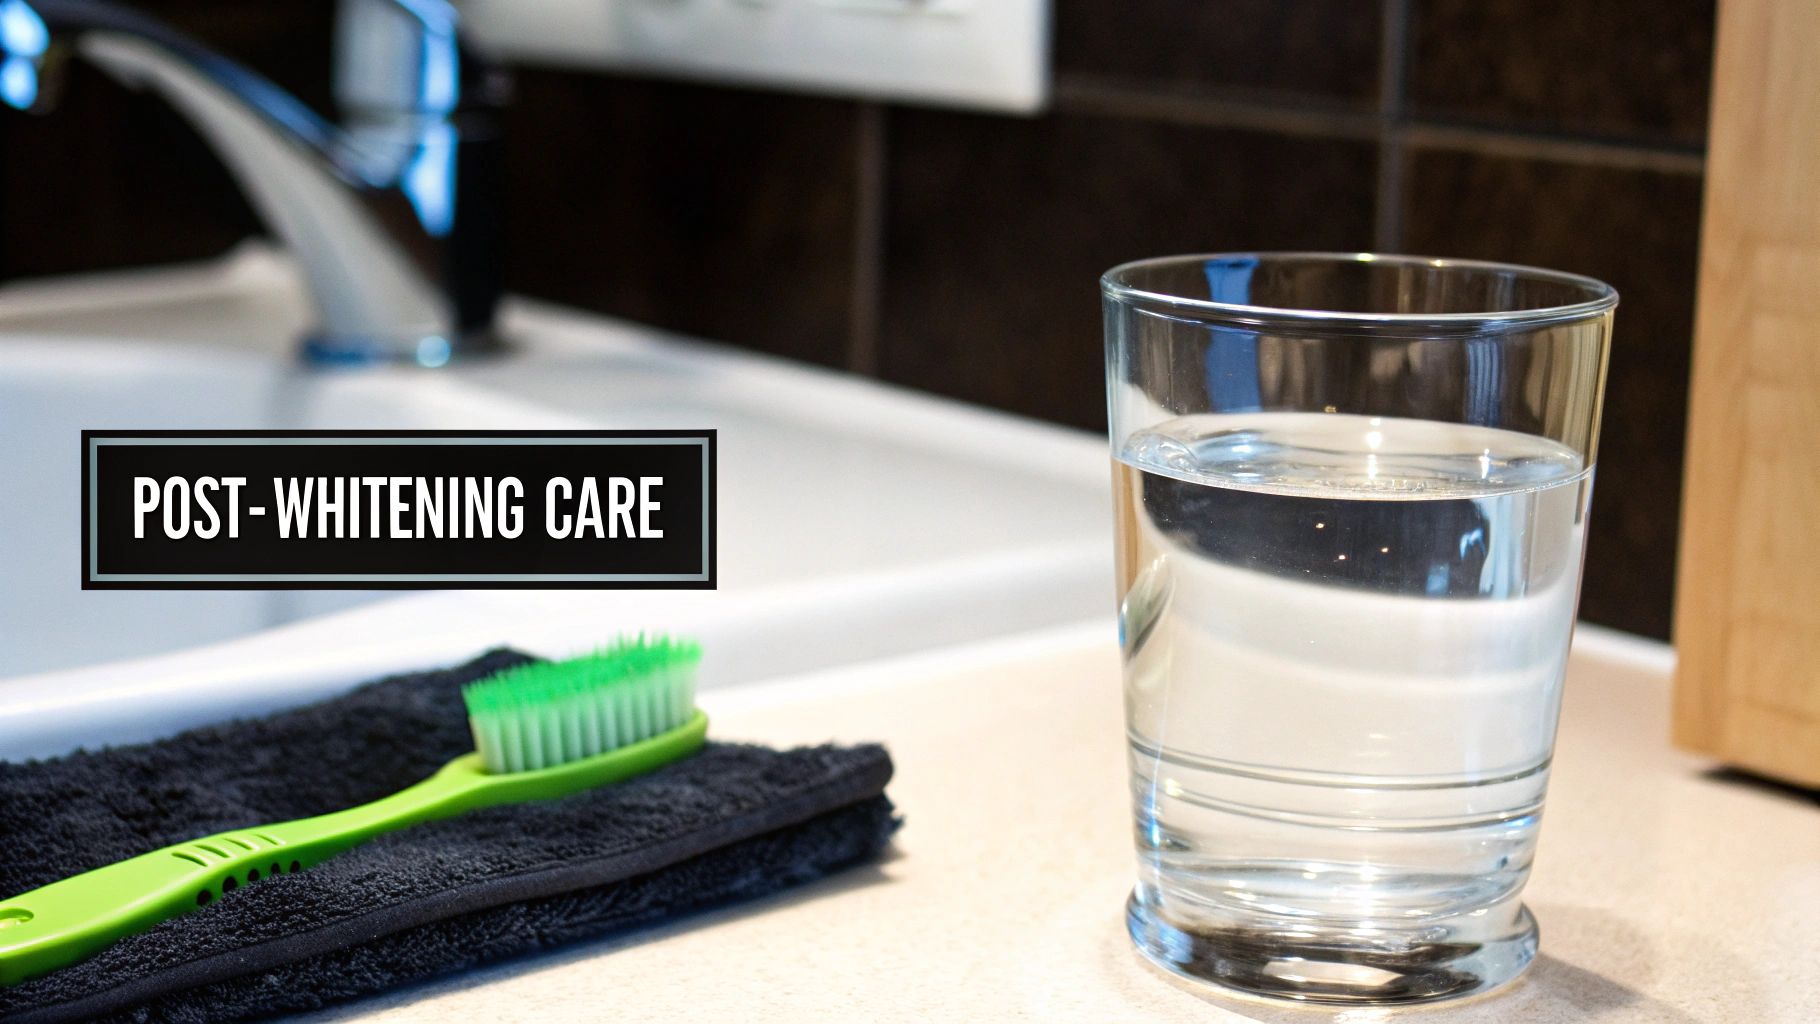
Aftercare and Keeping Your New Smile Bright
Congratulations! You've made it through the whitening process and are now enjoying that brilliant, confident smile. But the journey doesn't end here. What you do next is absolutely vital for managing any leftover sensitivity and ensuring those fantastic results stick around for the long haul.
Think of the first 48 hours after your treatment as a crucial protection period. Your tooth enamel is temporarily more porous, almost like a sponge, making it extra vulnerable to stains and sensitivity triggers. A little bit of care right now will make a world of difference.
The First 48 Hours: Your Immediate Game Plan
For the first day or two, it’s a smart move to steer clear of extreme temperatures. That sharp pang from an ice-cold drink or a steaming hot coffee can feel a lot more intense right after a whitening session.
Try to stick with lukewarm or room-temperature foods and drinks. It might seem like a small thing, but this simple adjustment gives the nerves in your teeth a chance to calm down. It dramatically cuts the risk of those uncomfortable zings and makes the whole post-whitening phase much more pleasant.
Key Takeaway: Your main job in the first 48 hours is to protect your teeth. By dodging temperature extremes and staining foods, you’re not just controlling sensitivity—you're laying the groundwork for a white smile that truly lasts.
The "White Diet": What to Eat (And What to Avoid)
Beyond temperature, what you eat is just as important. Your freshly whitened teeth are like a new white t-shirt—they can pick up stains very easily.
To protect your investment, it's best to avoid anything that could stain that t-shirt. For a couple of days, try to limit:
- Dark Drinks: Coffee, tea, red wine, and dark soft drinks are the usual suspects. If you absolutely need a coffee, using a straw can help bypass your front teeth.
- Richly Coloured Foods: Think berries, beetroot, vibrant curries, tomato-based sauces, and even soy sauce. These can quickly reverse your progress.
- Acidic Foods and Drinks: Citrus fruits, soft drinks, and anything with a lot of vinegar can temporarily weaken enamel and ramp up sensitivity.
To make it easier, here’s a quick guide to help you navigate your meals immediately after whitening.
Foods and Drinks to Limit After Whitening
| Category | Staining culprits to avoid or limit | Safer alternatives |
|---|---|---|
| Beverages | Coffee, black tea, red wine, cola, fruit juice | Water, milk, clear herbal tea |
| Sauces & Condiments | Tomato sauce, soy sauce, balsamic vinegar, mustard | White cream sauces, olive oil, mayonnaise |
| Fruits & Vegetables | Berries, beetroot, cherries, tomatoes, spinach | Bananas, pears, apples, cauliflower, potatoes |
| Sweets | Coloured lollies, dark chocolate, fruit popsicles | White chocolate, vanilla ice cream, yoghurt |
This isn't forever, of course! It's just a short-term strategy to give your teeth the best possible start.
Protecting Your Smile for the Long Haul
Once you've cleared that initial 48-hour window, your focus can shift to long-term maintenance. You don't have to give up your morning coffee or that glass of red wine forever, but a little moderation goes a long way. A great habit to get into is simply rinsing your mouth with water right after you've had something that could stain.
A common pitfall I see is people reaching for an abrasive "whitening" toothpaste to keep their teeth bright. While these can help with surface stains, they can be a real problem if you have sensitive teeth. Over time, the gritty particles in these pastes can wear down your enamel, bringing you right back to the sensitivity issues you worked so hard to manage.
In fact, one study on enamel integrity found that some whitening toothpastes increase the roughness of the tooth surface, which can worsen sensitivity. The best approach is to stick with the gentle, desensitising toothpaste you were using before and during your treatment.
Keeping your smile bright and comfortable is all about smart, consistent habits—not aggressive products. To see the kind of stunning, long-lasting results that are possible with a gentle approach, have a look at our teeth whitening gallery.
Frequently Asked Questions
It’s completely normal to have questions when you’re looking into teeth whitening for sensitive teeth. Let’s dive into some of the most common queries we hear. My goal is to give you the clear, straightforward advice you need to feel confident about achieving that brilliant smile, comfortably.
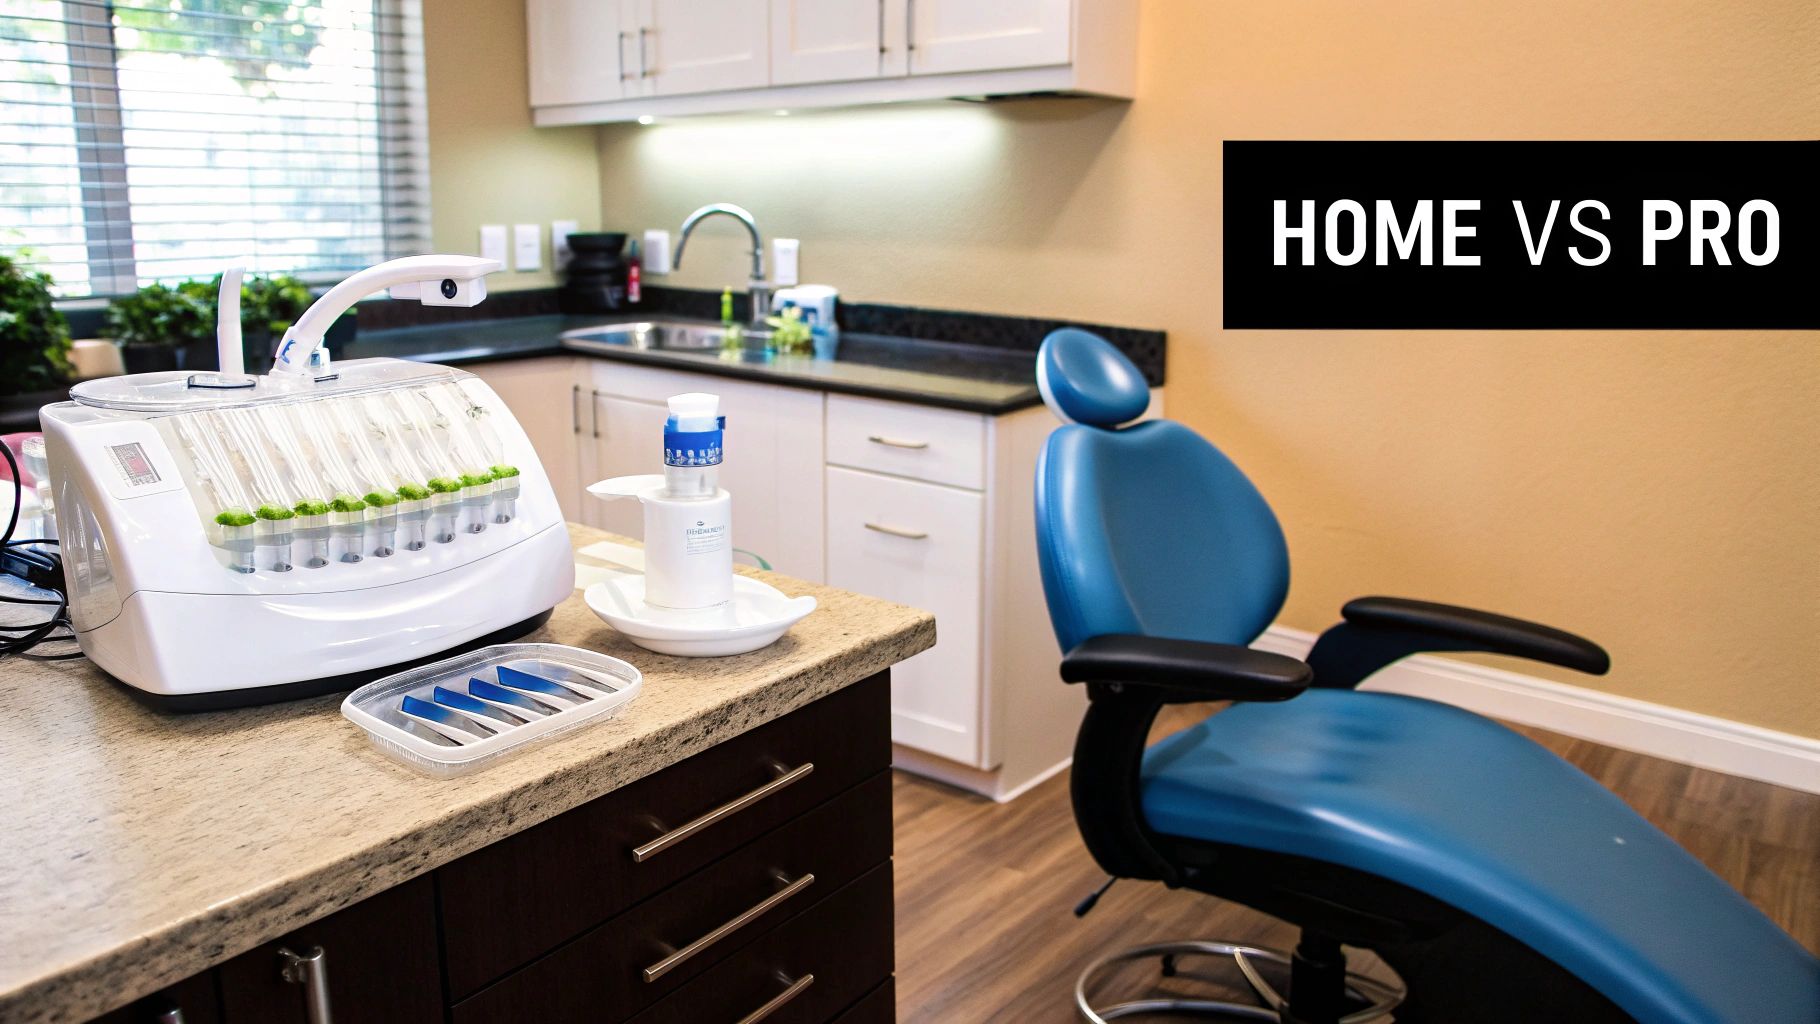
Is Professional Teeth Whitening Better for Sensitive Teeth?
For most people with sensitive teeth, the answer is a definite yes. I know it might seem like an in-chair treatment would be more intense, but it actually gives us a level of control you just can't replicate at home.
When you're with a professional, we can be incredibly precise. We apply protective barriers to keep the whitening agent off your gums and meticulously monitor how your teeth are responding in real-time. The biggest advantage, though, is customisation. We can adjust the whitening gel's strength to match your specific sensitivity level, which often leads to far less discomfort than you'd get from a generic, one-size-fits-all chemist kit.
How Long Will My Whitening Results Last?
This one really comes down to your daily habits. Your new, brighter smile could last for a year or even longer if you maintain great oral hygiene and steer clear of major stain culprits.
However, if you're a big fan of coffee, black tea, or red wine, you might notice the brightness starting to dim after just a few months. A simple but effective trick I always recommend is to rinse your mouth with water right after having anything that could potentially stain. It makes a surprisingly big difference in extending the life of your results.
A word of caution: resist the urge to constantly "top up" your whitening. Over-whitening is one of the main reasons people experience severe sensitivity, and it can even harm your enamel. It's much safer to maintain your results with good habits than to repeatedly use bleaching products.
What if I Still Experience Sensitivity After Taking Precautions?
So, you've done everything right. You've used desensitising toothpaste, picked a gentle product, and applied it with care, but that zingy feeling just won't go away. The most important thing to do is listen to your teeth and stop the treatment. Pushing through the pain isn't the answer; it might be a sign of an underlying problem.
Your next step should be a call to your dentist. That persistent discomfort could be pointing to something else entirely, such as:
- A hidden cavity that needs filling
- A tiny, undetected crack in a tooth
- Gums that have receded more than you realised
Sometimes, what feels like whitening sensitivity is actually a dental issue crying out for attention. Getting it properly diagnosed means you can fix the root cause and get back to your whitening goals safely down the track. It can also be helpful to see how others have handled similar situations. Reading through the stories and experiences in the My Transformation reviews can offer some really practical insights.
Think of it as a crucial feedback loop. By paying attention to what your body is telling you and getting expert advice when you need it, you ensure your journey to a whiter smile is both successful and pain-free.