How a Hair Tattoo Can Fix Hairlines Guide
A "hair tattoo," or what we in the industry call Scalp Micropigmentation (SMP), is a brilliant way to rebuild a receding hairline. It involves tattooing thousands of tiny, layered dots of pigment onto the scalp. It’s an incredibly precise technique that gives the illusion of a full head of hair that’s been shaved close. Think of it as a highly specialised cosmetic procedure, a far cry from a traditional body tattoo.
What Is a Hair Tattoo and How Does It Work?
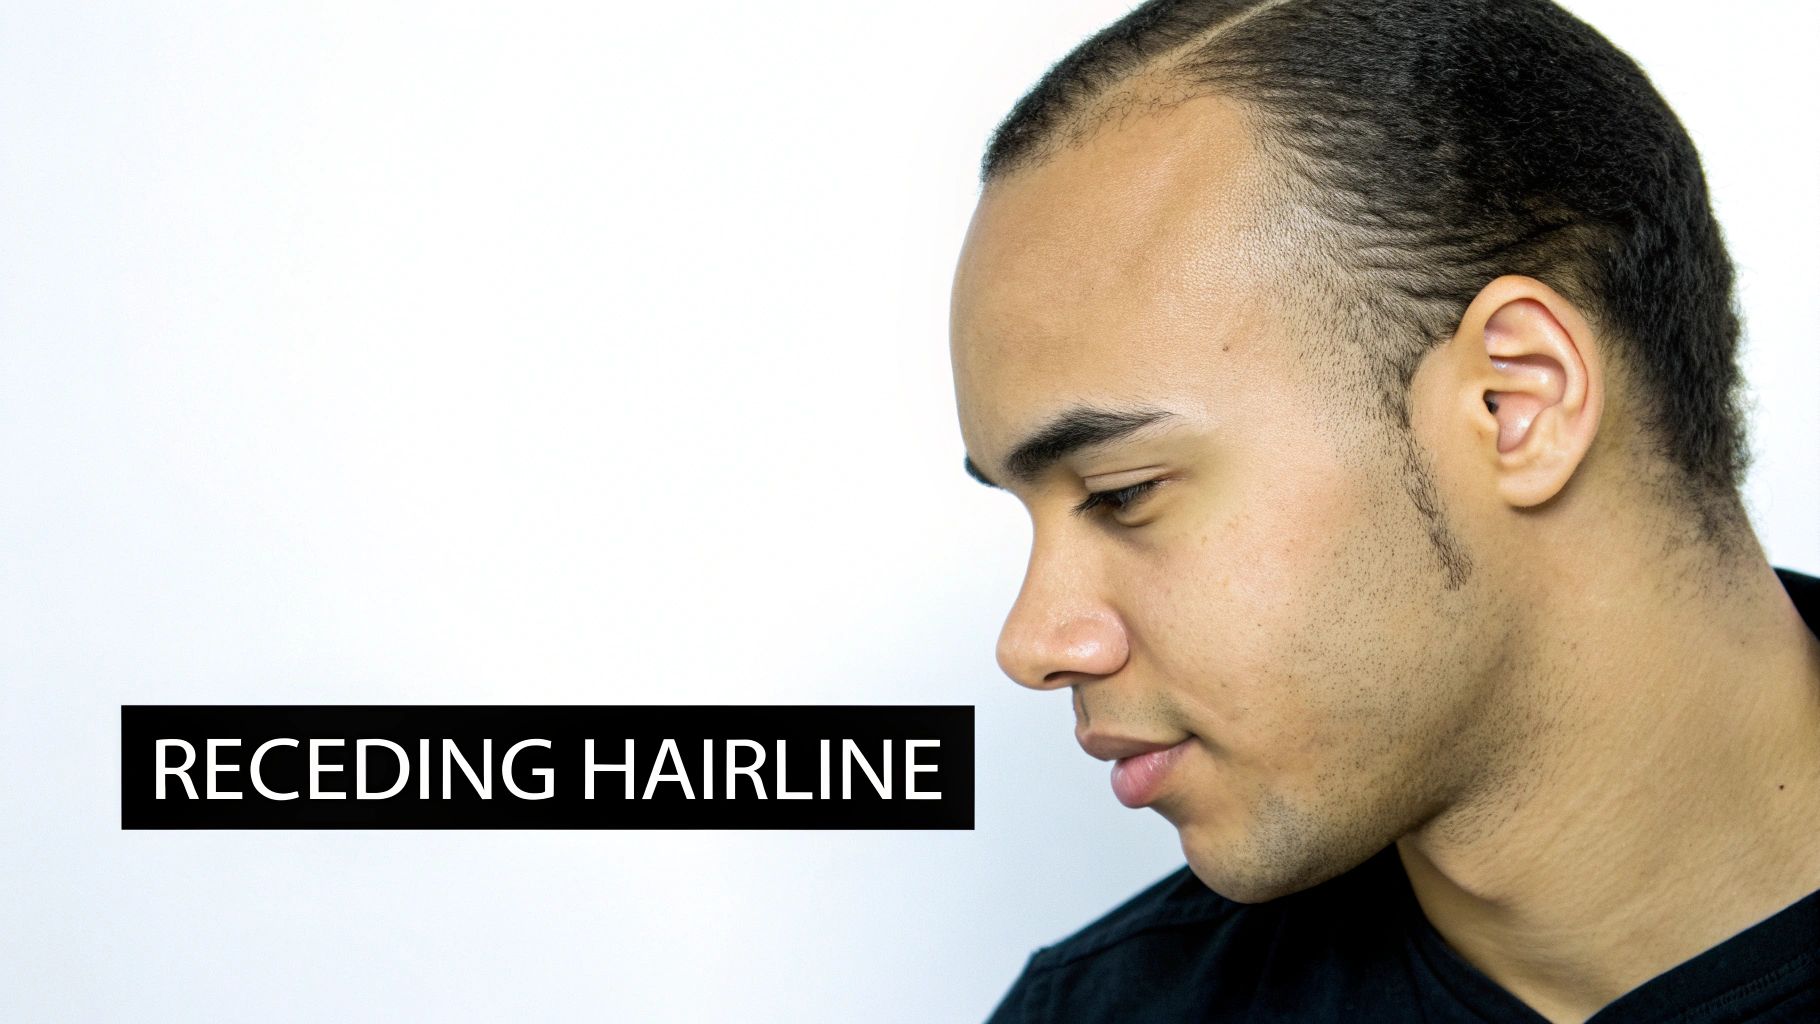
Staring at a receding hairline in the mirror is a frustrating experience for so many people. It can be a daily knock to your confidence. But what if the fix wasn't a major surgery or a cocktail of chemicals you have to apply every day? That's exactly where Scalp Micropigmentation fits in.
At its heart, this non-surgical procedure is about depositing tiny, layered dots of specialised pigment just under the skin on your scalp. Every single dot is placed with incredible care to perfectly mimic the look of a natural hair follicle. When a skilled technician applies thousands of these impressions, the collective effect is a completely convincing illusion of a dense, full hairline.
It’s an increasingly popular choice for some very good reasons:
- You See Results Straight Away: Unlike hair transplants, which can take months to show any real growth, you'll walk out of your first SMP session with a visible hairline.
- It's Non-Invasive: There are no scalpels, no stitches, and no long, painful recovery.
- Forget Daily Upkeep: Once your initial sessions are done and healed, your maintenance routine is practically zero.
- It’s Built to Last: A well-cared-for treatment can look great for years before you'd even need to think about a touch-up.
The Artistry Behind the Technique
The real magic in how a hair tattoo can fix hairlines comes down to artistry and detail. A true SMP professional doesn't just inject pigment; they design a custom hairline that complements your face shape, age, and skin tone. The process involves carefully blending different shades of pigment to get that realistic, three-dimensional look, which is essential to avoid a flat, "painted-on" result.
This is where the expertise really shows. The aim is to create a soft, natural-looking hairline, not a harsh, artificial line that screams for attention. For a much closer look at the specifics, you might want to read our detailed guide explaining what is scalp micropigmentation and how it all comes together.
A Growing Solution in Australia
It's no secret that the demand for effective hair loss treatments is on the rise. In Australia alone, the hair restoration market was valued at around USD 86.7 million in 2023 and is expected to climb to an impressive USD 257.3 million by 2030. This boom is a clear sign that treatments like SMP are becoming a go-to, trusted option for people wanting to restore their hairlines without going under the knife.
For anyone wanting a definitive fix for a receding hairline without the risks and recovery of surgery, SMP is a powerful and aesthetically pleasing alternative. It rebuilds your hairline and, just as importantly, your confidence.
Finding the Right Artist and Preparing for Your SMP
The success of your entire hair tattoo journey really comes down to two things: the expertise of your artist and how well you prepare your scalp. A brilliant result isn't a happy accident. It's what happens when a skilled practitioner and a well-prepared client work together. Getting this first stage right paves the way for a smooth process and an incredible outcome.
Choosing your artist is easily the most important decision you'll make in this entire process. Trust me, this isn't the place to go bargain hunting. A true professional understands the subtle details of skin tone, facial structure, and how to design a hairline that looks completely natural. When you're checking out potential artists, you need to dig deeper than a few perfect-looking photos on their website.
What to Look for in an Artist's Portfolio
A great portfolio does more than show off fresh work. What you really want to see are healed results, preferably photos taken months or even years after the treatment was finished. This is the real proof. It shows the artist knows how to select stable pigments and implant them at the perfect depth so the impressions don't blur or change colour down the track.
A solid portfolio should showcase a wide range of work, including:
- Different skin tones: This proves they can match pigment colours accurately for a believable look on anyone.
- Various hairline styles: A top-tier artist can craft anything from a soft, natural hairline to a sharp, defined edge-up.
- Genuine client testimonials and reviews: Hearing from past clients gives you real insight into what the experience is like and how happy they are with the results.
A truly professional SMP artist will never try to sell you on a "one-size-fits-all" hairline. They should be a consultant, working with you to find a style that suits your age and facial features for a look that is nothing short of authentic.
Preparing Your Scalp for Treatment
Once you've locked in your artist, it's time to get your scalp ready. Proper prep work is what allows the pigment to settle evenly and heal perfectly. It helps to think of your scalp as a canvas—the better the condition of the canvas, the better the final artwork will be. For a complete rundown, check out our guide on how to prepare for scalp micropigmentation treatment.
In the week leading up to your session, a few simple steps will make all the difference. Get into the habit of moisturising your scalp every day to make sure the skin is hydrated and in good shape. Critically, you need to stop applying any moisturiser 24 hours before you go in. You’ll also want to stay out of the sun, as we can’t work on skin that is sunburnt or peeling.
On the day of the treatment itself, just give your hair and scalp a good wash before you leave home. You need to arrive with a completely clean slate, free from any styling products, gels, or sprays. This is a simple but vital step in how a hair tattoo can fix hairlines, setting the stage for a perfect result.
The SMP Process: From Your First Session to the Final Result
So, what actually happens when you sit down for a hair tattoo? It's easy to get the wrong idea, but it's not a single, quick appointment. Getting it right is a careful, artistic process that usually takes between two to four sessions, with each visit building on the last to create a result that looks completely natural.
Think of it as an artist layering colours on a canvas. We're not just painting on a hairline; we're meticulously building up the illusion of density and depth, dot by dot.
This visual guide breaks down the core stages, showing you exactly how we go from that initial chat to the finished, fully-healed look.
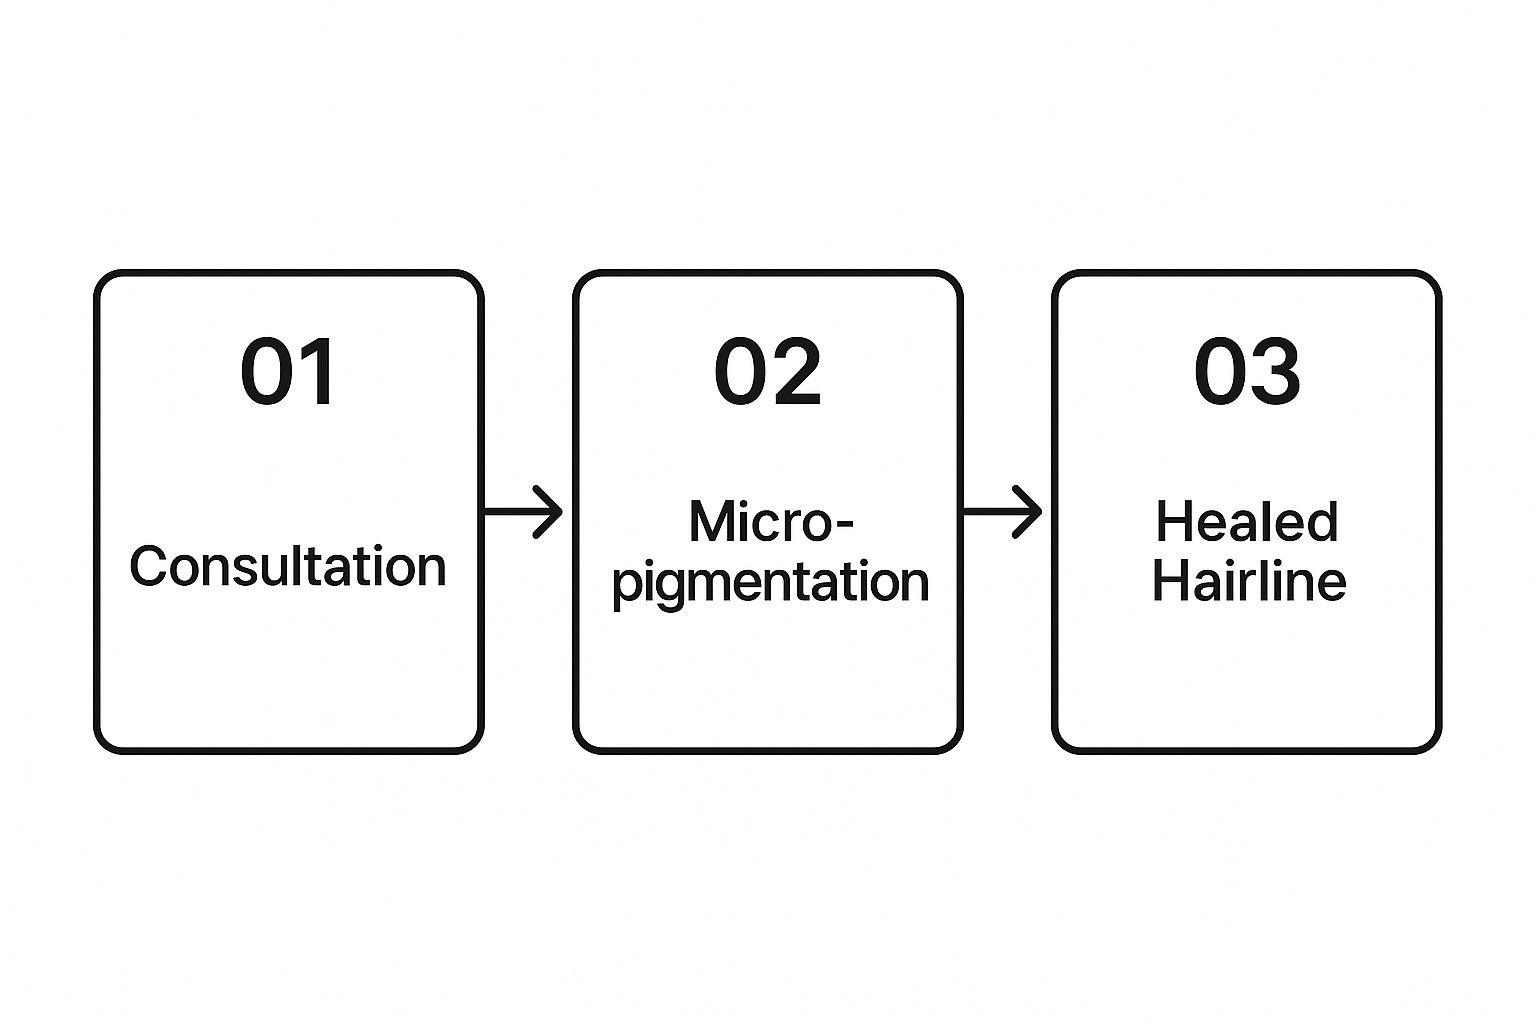
As you can see, the final hairline isn't achieved overnight. It's the product of a deliberate, multi-step journey.
Your First Session: Laying the Foundation
Your first session is all about setting the stage. Consider it the blueprint for your new look. This is usually the longest appointment because it’s where your practitioner maps out the hairline we’ve agreed on and establishes that crucial first layer of pigment.
We always start light. Any good artist will be conservative on this first pass to see how your skin takes the pigment. This cautious approach is key—it ensures the final colour blends perfectly with your skin tone and avoids any harsh, unnatural lines. You’ll walk out with a noticeable hairline, but it won't have its full density just yet.
Subsequent Sessions: Building Density and Dimension
After that first appointment, your scalp needs to heal. We usually wait around 10 to 20 days for everything to settle down. When you come back for your next sessions, that's when the real magic happens.
During these follow-up visits, your practitioner focuses on:
- Boosting the density by adding thousands more tiny impressions between the dots from the first session.
- Creating texture with slightly different shades of pigment, which gives the final look a truly three-dimensional feel.
- Perfecting the hairline by softening the edges and making small tweaks based on how the first layer healed.
This layering technique is exactly how a hair tattoo can fix hairlines so convincingly. It’s what prevents that flat, "drawn-on" appearance and instead mimics the look of real hair follicles under the skin.
A lot of clients ask about the pain. Most people describe it as more of a light, persistent tapping than the sting of a traditional tattoo. We use specialised needles and pigments designed just for the scalp, which is vital for making sure the colour stays true and doesn't blur over time.
Healing and the Final Reveal
Once your final session is done, your scalp needs a bit more time to heal completely. You can expect some redness for the first day or two, but that fades quickly. The pigment will also look a little darker initially before settling into its final, natural shade over the next few weeks.
Sticking to the aftercare routine is non-negotiable if you want to protect your investment and get the best possible result. For a complete rundown on what to expect, our day-by-day scalp micropigmentation healing timeline guide covers every detail you'll need.
Before you know it, you're left with a sharp, defined, and incredibly low-maintenance hairline that brings back your look—and your confidence.
Designing a Natural Hairline That Fits You
Nothing separates a great hair tattoo from a bad one more than the hairline itself. Get it wrong, and it’s an instant giveaway. A poorly designed, unnatural hairline can completely defeat the purpose of the treatment.
The real artistry in Scalp Micropigmentation is crafting a hairline that’s so subtle and well-matched to you that it’s completely undetectable.
This isn’t about just stamping a generic shape onto your forehead. A good SMP artist is like a bespoke tailor, custom-designing a hairline that works with your unique facial features, head shape, and even your age. A sharp, aggressive hairline might suit someone in their 20s, but a slightly softer, more mature line is often a much better fit for someone a bit older.
Finding Your Perfect Hairline Style
The most important chat you'll have with your practitioner is about the style of your new hairline. Forget any one-size-fits-all ideas; you’ve got options, and we’ll figure out the right one together.
Here are a few of the most popular and natural-looking styles we create:
- Soft and Broken: This involves creating a slightly staggered or feathered edge to mimic the natural irregularity of a real hairline. No harsh, solid lines.
- Slightly Receded: This style embraces a more mature look, framing the face perfectly without trying to recreate the hairline you had as a teenager.
- Defined and Sharp: For those who want that crisp, clean ‘just left the barber’ look, this style gives the face a strong, confident frame.
An experienced artist will guide you, making suggestions based on your bone structure. For instance, a rounded hairline can help soften more angular facial features, while a straighter line might be a better match for a rounder face. Knowing how different shapes work, including the details of an M-shaped hairline, is crucial for getting a balanced and flattering result.
A true professional will never push you toward an unnaturally low or ruler-straight hairline. Our goal is to create a look so believable that people just think you have a great buzzcut.
The Techniques That Create Realism
This is where technical skill really comes into play. To avoid that dreaded "helmet" look where the SMP looks dense and fake, artists rely on specialised techniques. Two of the most important are feathering and stippling.
Feathering is the process of carefully lightening the pigment density right at the edge of the hairline. This creates a soft, gradual transition into the forehead.
Stippling is all about the artist's ability to place individual dots with varied spacing and depth, perfectly replicating the random, organic pattern of real hair follicles.
This meticulous approach is exactly how a hair tattoo can fix a hairline without looking artificial. By layering the pigment and intentionally creating those tiny imperfections, the final result is a three-dimensional illusion of density that blends flawlessly with any existing hair. It's this level of detail that ensures you walk away with a hairline you'll be happy with for years to come.
Essential Aftercare to Protect Your Investment
The incredible work your artist did isn't finished the moment you walk out the door. Now, the ball is in your court. Proper aftercare is absolutely non-negotiable if you want that new hairline to heal perfectly and your investment to last.
Think of these next few weeks as the final, crucial step in the whole process. Getting this right is what protects the crispness and colour of every single follicle impression, preventing issues like premature fading or blurring.
The Immediate Healing Phase
The first four to five days after any session are the most critical. Your scalp is essentially a healing canvas, and it needs to be treated gently. The main goal here is simple: keep the area clean, dry, and free from any kind of irritation.
This means you’ll have to strictly avoid a few things:
- Getting your scalp wet. No showers (unless you can keep your head completely dry), no swimming, and definitely no saunas. Moisture can seriously mess with how the pigment settles into your skin.
- Heavy exercise or anything that makes you sweat a lot. Sweat is salty, and that salt can literally pull the fresh pigment right out of your skin before it has a chance to lock in.
- Direct sun exposure. UV rays are the number one enemy of fresh pigment. If you have to be outside, wear a loose-fitting hat every time.
- Shaving, scrubbing, or rubbing the treated area. Just leave it alone. Let the skin heal without any friction or interference.
Following these simple rules ensures the foundation of your treatment settles perfectly. It’s a small commitment that pays huge dividends in the longevity and quality of your final look.
Long-Term Maintenance for Lasting Results
Once everything is fully healed up after your final session, your focus shifts to long-term preservation. How you care for your scalp from this point on will directly impact how long your hair tattoo looks sharp and fresh.
It really boils down to two key habits: moisturising and sun protection.
Keeping your scalp hydrated stops the skin from getting dry and flaky, which can dull the look of the pigment. A simple, scent-free moisturiser applied daily is all it takes. For a bit more detail, check out our 5 top tips to care for your scalp after SMP.
Even more important is sun protection. You have to be vigilant here. Consistent UV exposure will break down the pigment over time, causing it to fade. Get into the habit of applying a high-SPF sunscreen (SPF 30+) to your scalp every single day, even when it’s cloudy.
Touch-Ups and Managing Expectations
Even with the best aftercare in the world, your hair tattoo will naturally soften and lighten a bit over several years. Don't panic—this is a normal and expected part of the process.
Typically, results look great for three to four years before a touch-up might be needed. With really diligent scalp care, some people can push this out to as long as seven years.
A touch-up is a straightforward session where your artist simply restores the colour and definition, bringing your hairline right back to its original vibrancy. It's a quick and easy way to keep your SMP looking its absolute best for many more years to come.
Got Questions About Hair Tattoos? We've Got Answers
Deciding to get a hair tattoo is a big step, so it’s completely normal to have a few questions running through your mind. You want to feel confident in your choice, and that comes from having clear, honest information. Let's tackle some of the most common queries we hear from people just like you.
Probably the biggest worry is whether it will look real. It's a fair concern. The last thing you want is something that looks fake or obvious. The good news is, when it's done by a true professional, scalp micropigmentation is virtually impossible to spot.
Will My Hair Tattoo Look Fake?
A high-quality hair tattoo shouldn't be noticeable at all. The goal is for it to blend in perfectly, and an experienced artist has a few tricks up their sleeve to make sure that happens.
- Custom Pigment Blending: A pro will never use a one-size-fits-all ink. They'll meticulously mix a pigment that’s a perfect match for your specific hair colour and skin tone.
- Natural Hairline Design: Forget those harsh, ruler-straight hairlines. A skilled artist designs a soft, slightly staggered hairline that’s appropriate for your age and face shape, mimicking how hair naturally grows.
- The Illusion of 3D: They use multiple shades of pigment and vary the size and spacing of each micro-dot. This isn't just about adding colour; it's about creating depth and the illusion of real, three-dimensional hair follicles.
A dead giveaway of a bad job is an overly sharp or "cookie-cutter" hairline. A real expert knows that the magic is in the subtlety.
When SMP is done right, people won’t notice the treatment. They’ll just notice you have a great, sharp-looking buzz cut. The work itself should be invisible.
How Much Does a Hair Tattoo Cost in Australia?
So, what’s the investment for restoring your hairline? In Australia, you can generally expect the cost of scalp micropigmentation for a hairline to fall somewhere between AUD $1,200 and $4,000.
Of course, that's a pretty wide range. The final price tag really depends on things like the extent of your hair loss, the clinic’s location, and the artist's reputation and experience. This quote should cover the entire process, which usually involves 2-4 separate sessions to build up the density perfectly.
It might be tempting to shop around for the cheapest deal, but this is one of those areas where you truly get what you pay for. Fixing a botched SMP job is a lot more expensive and complicated than just getting it done right the first time.
Can I Grow My Hair Out After Getting SMP?
Absolutely. Scalp Micropigmentation doesn't damage your existing hair follicles or get in the way of natural hair growth. The pigment is placed in the upper dermis of your scalp, which is well above the layer where the hair follicles live.
This means you can think of SMP as a permanent density booster. If you have thinning hair, growing it out a bit can work fantastically with the treatment, making your hair look significantly fuller.
The only time it gets tricky is if you're mostly bald and got SMP to create that classic "shaved head" look. If you then let the remaining hair on the sides grow out, you’ll end up with a noticeable difference in texture between the 3D hair and the 2D pigment on top. For that style, keeping everything closely shaved is the key to a seamless look.
At My Transformation, we're all about delivering results that restore more than just your hairline—we restore your confidence. See how we can create the right solution for you at https://www.mytransformation.com.au.